Sigma sd Quattro to Custom Leica Mount DIY conversion
Hello everyone,
How are you doing?
I am back with a new project, well a continuation of a previous project.
This time I created a custom mount to allow my sd Quattro to be used with Leica TL lenses with focus to infinity.
I hope you are ready for a bit long post, and that you find interesting.

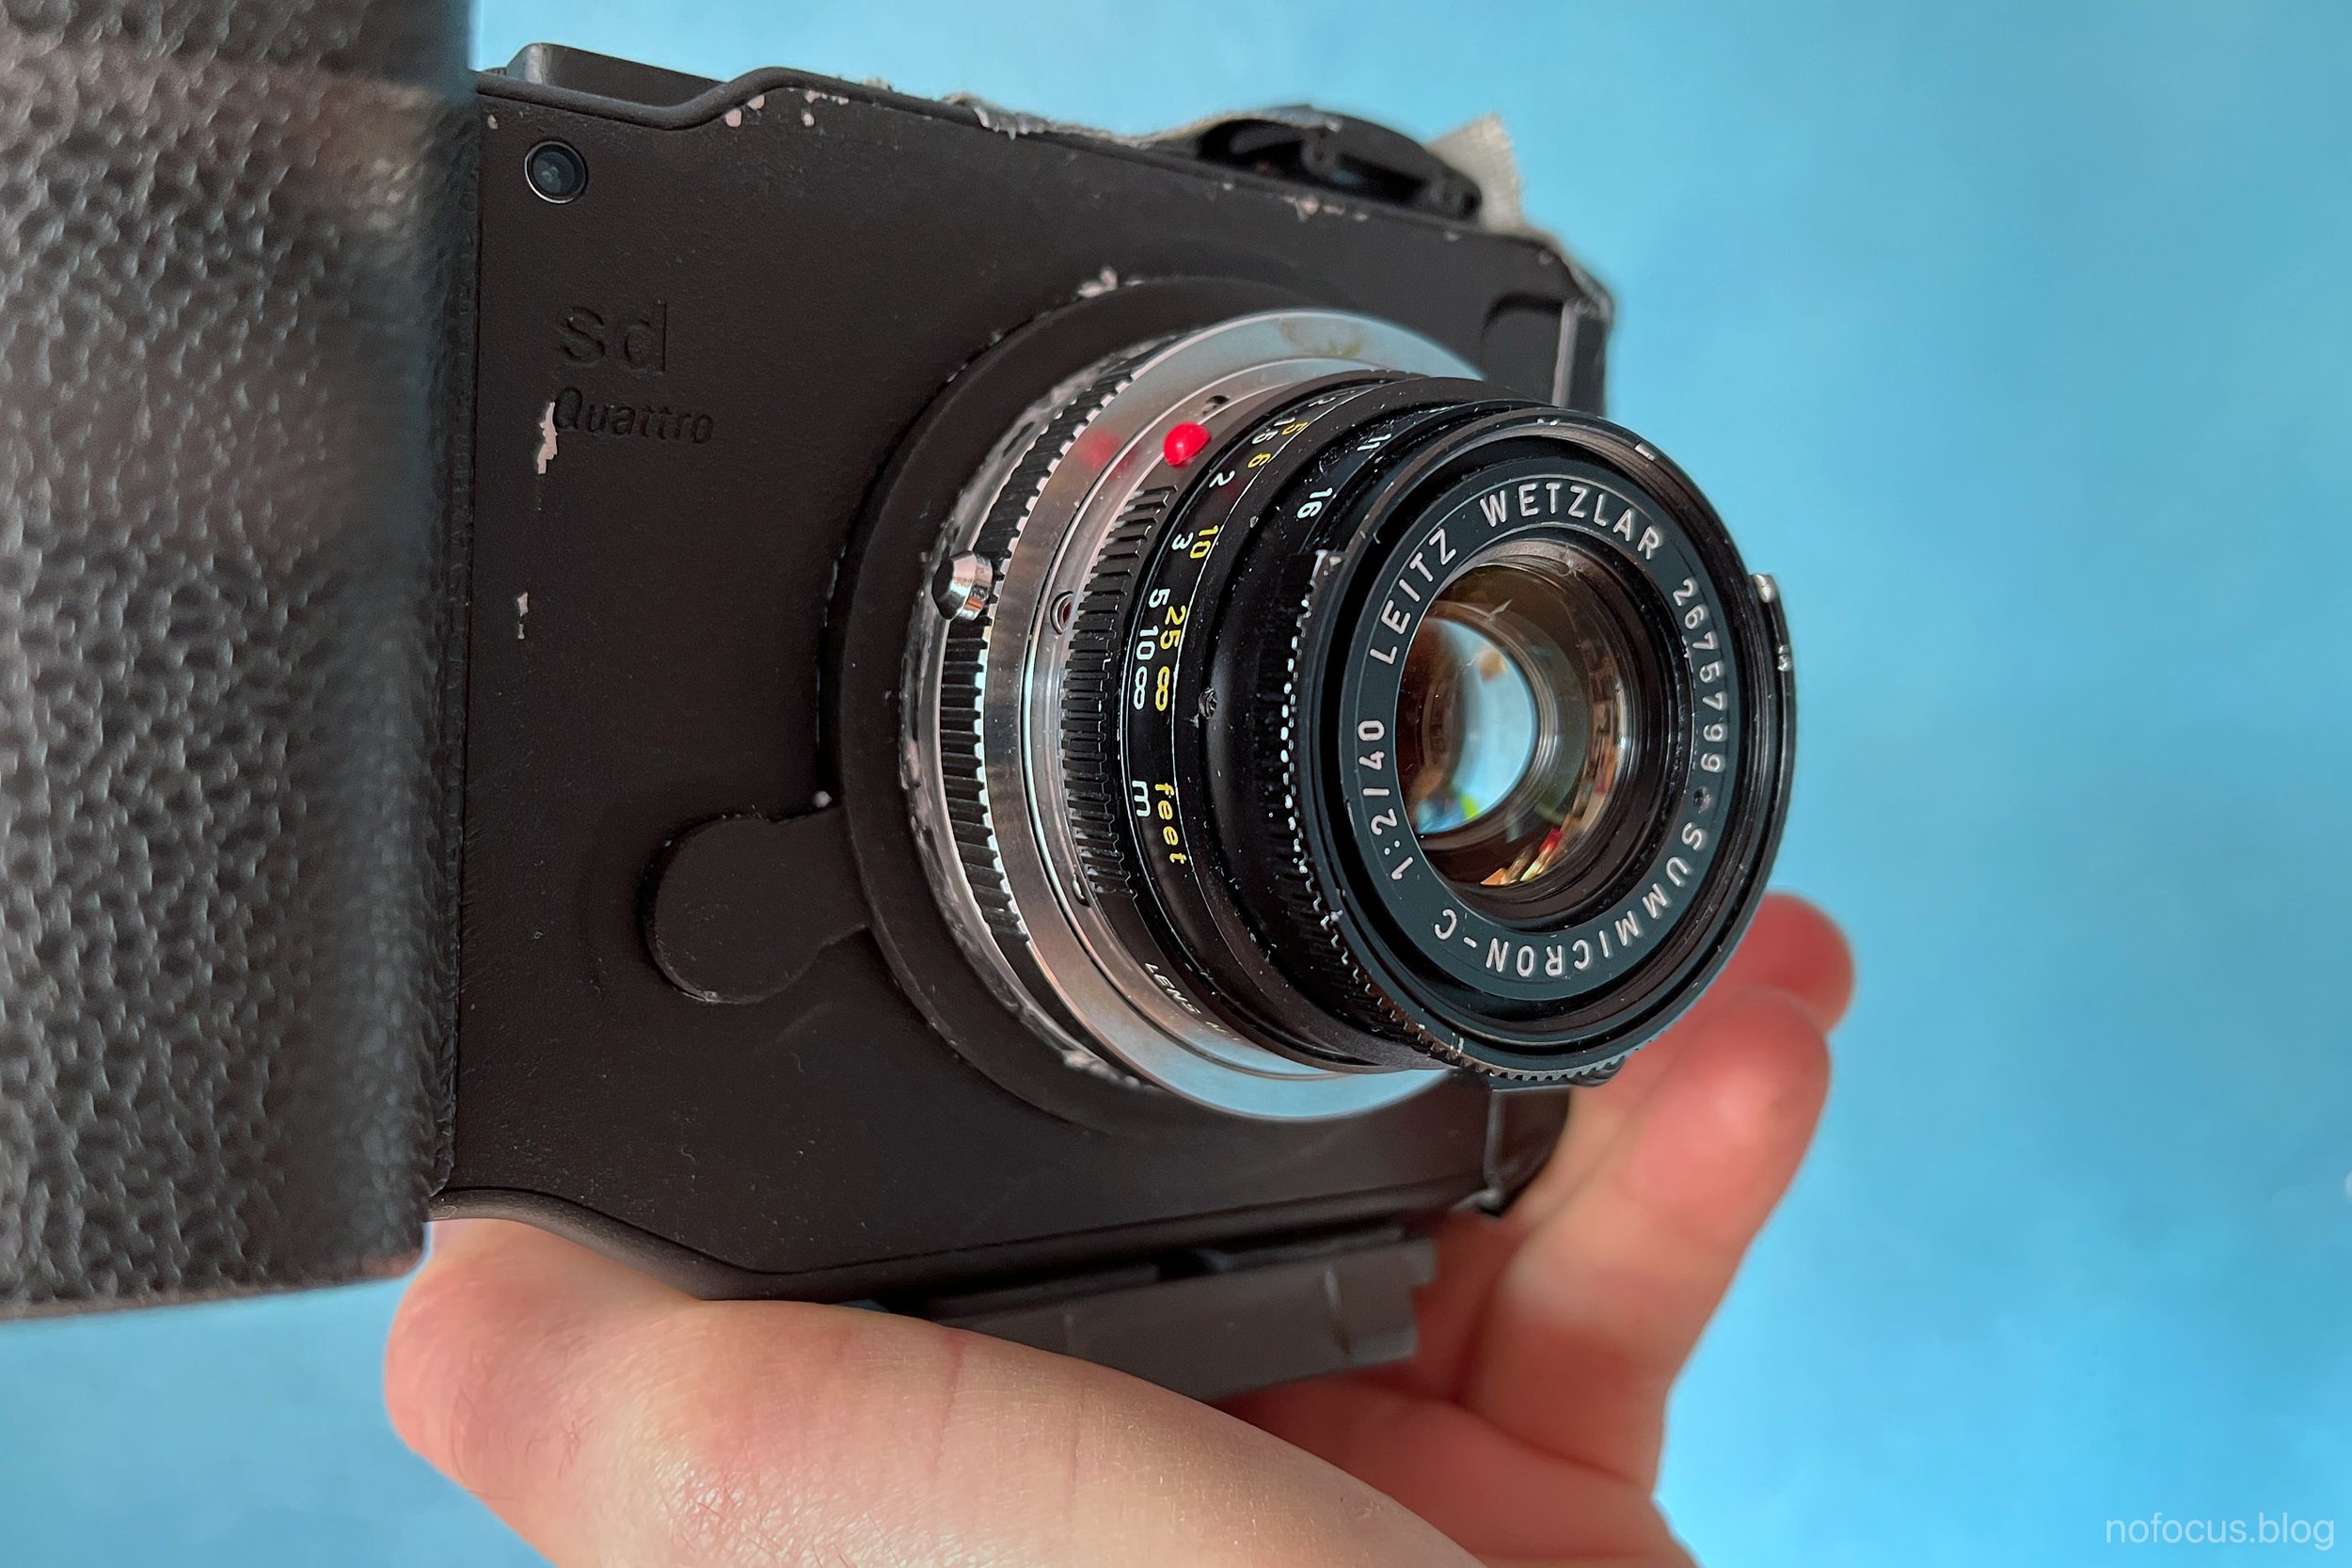
The final result: Sigma sd Quattro L !
My initial question was: how would Leica Lenses look on a Foveon X3 sensor?
Based on the photos shot with Sigma ones the performance of the X3 looked amazing.
Unfortunately, it is not possible to directly use Leica lenses on this camera, the flange distance is too long.
Well, unless you want to only shoot macro.
How to fix this problem?
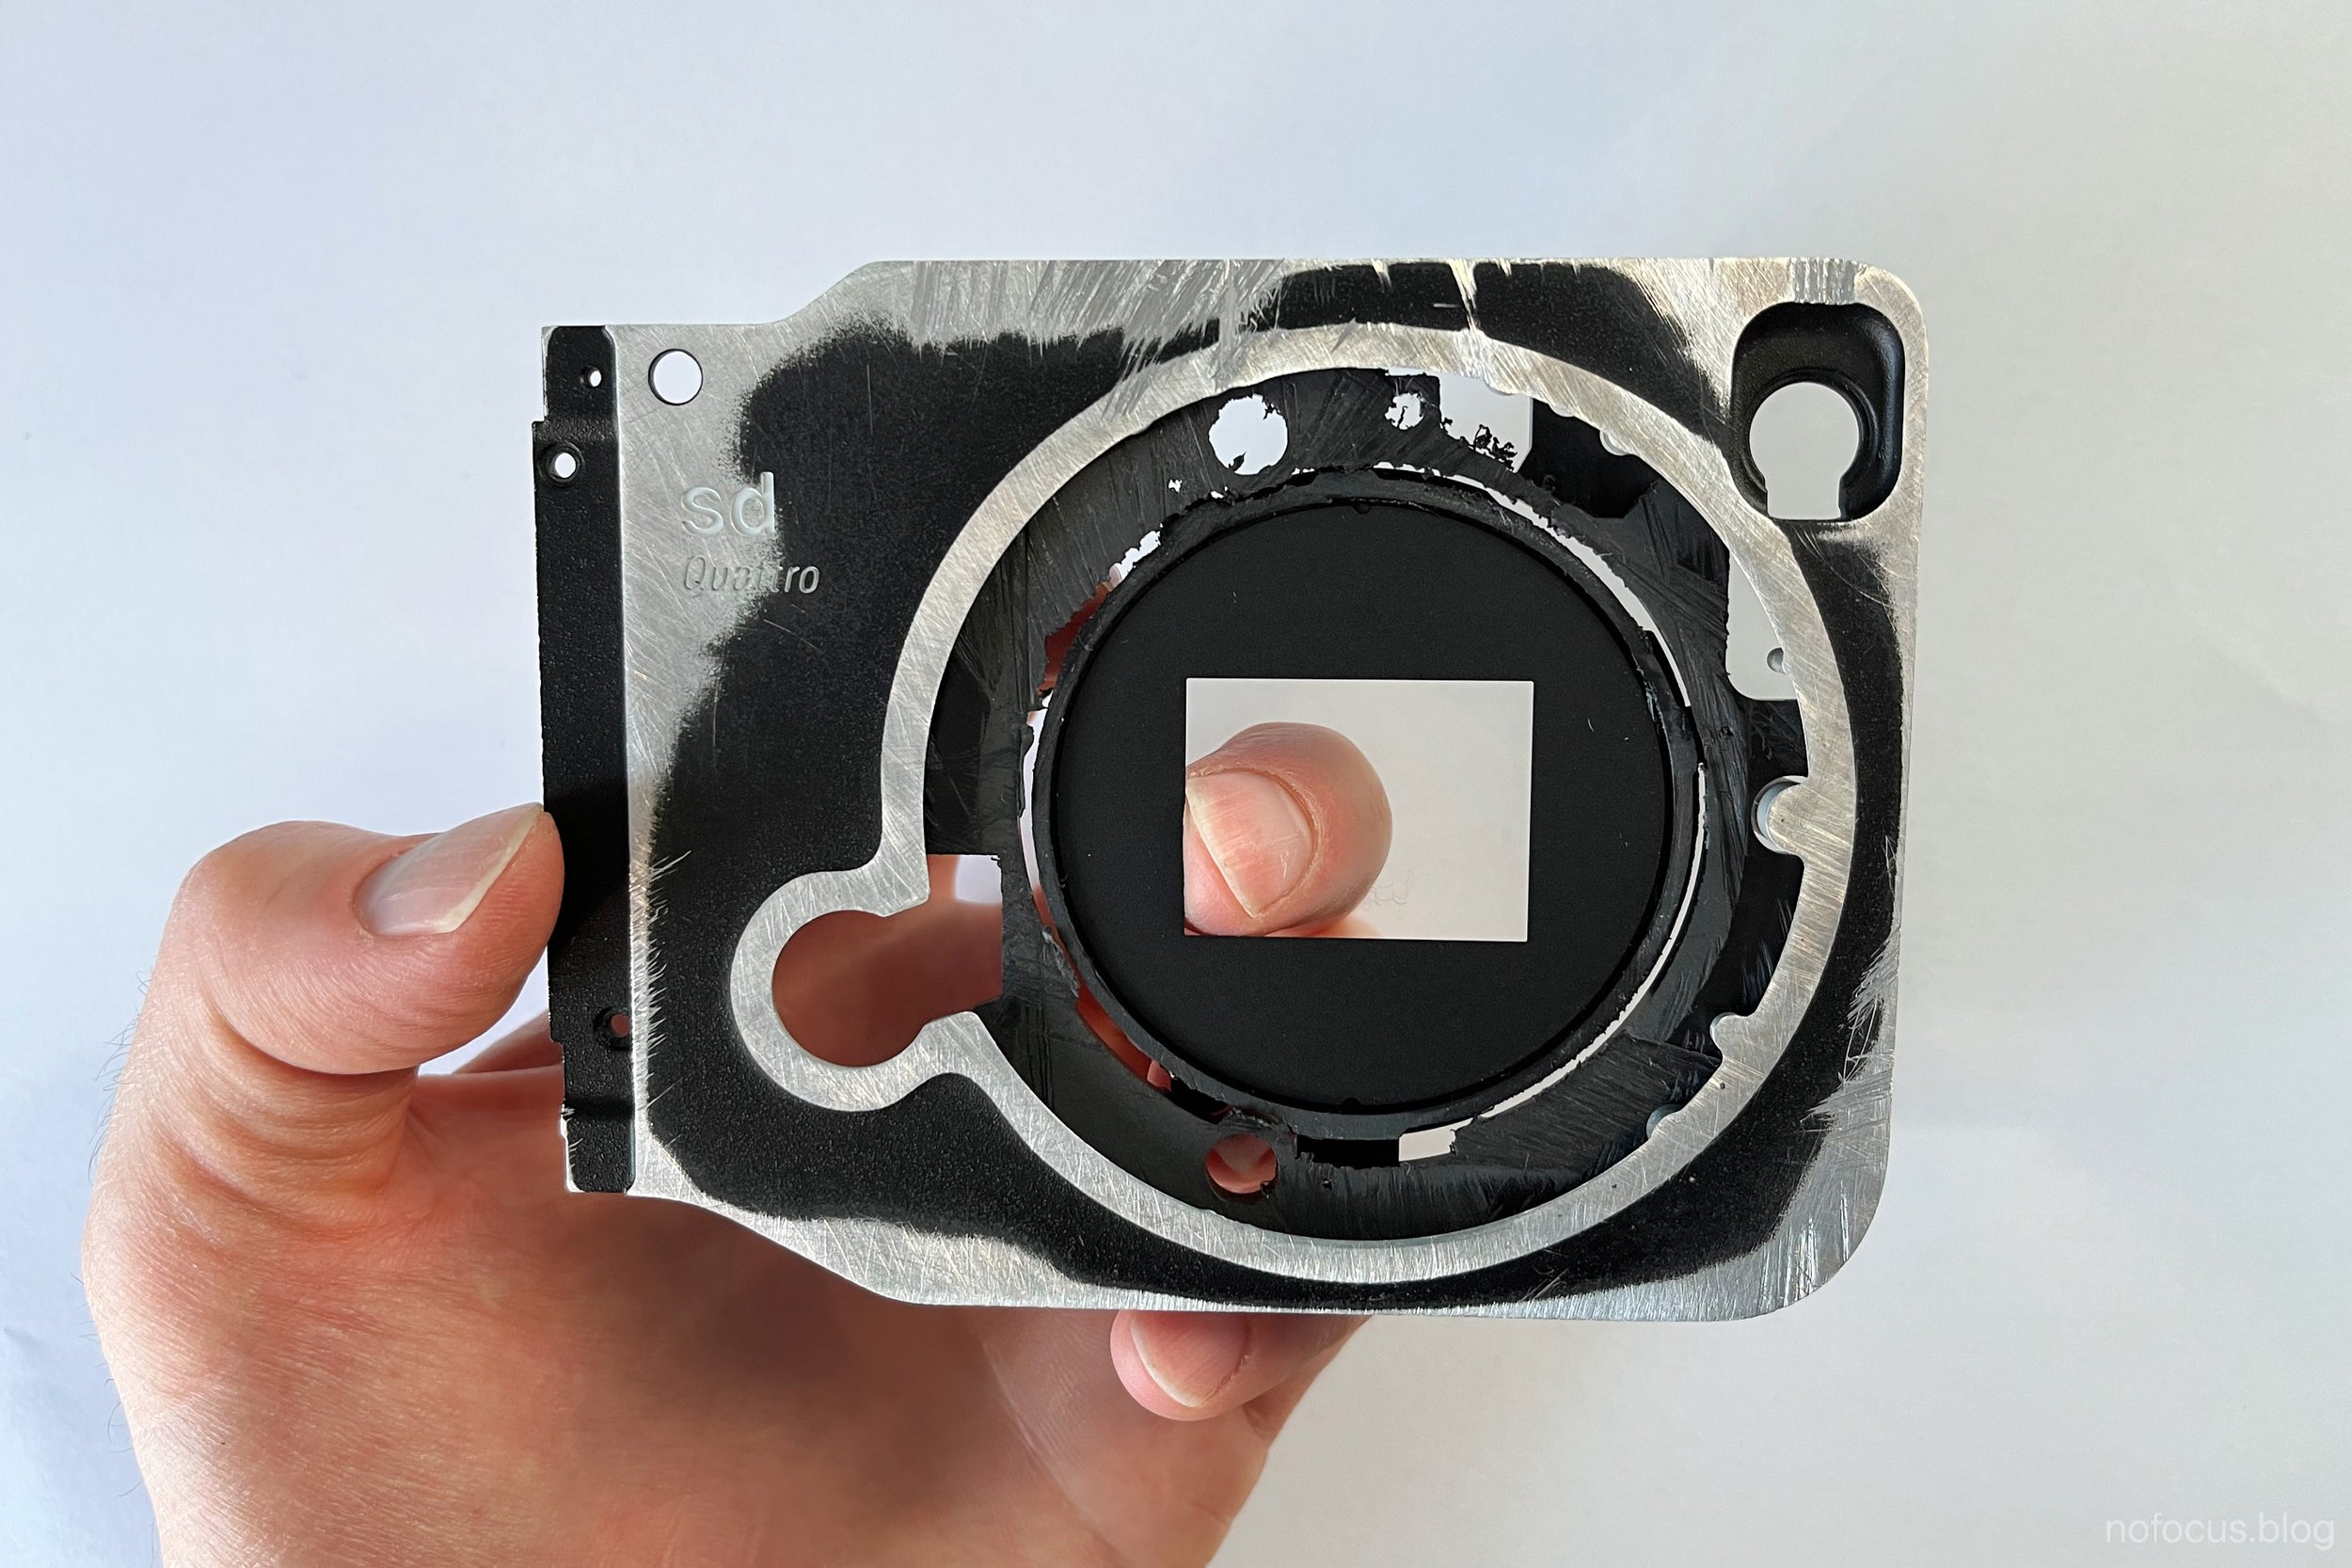
Fist I had to remove the front plate, where the sigma mount is located.

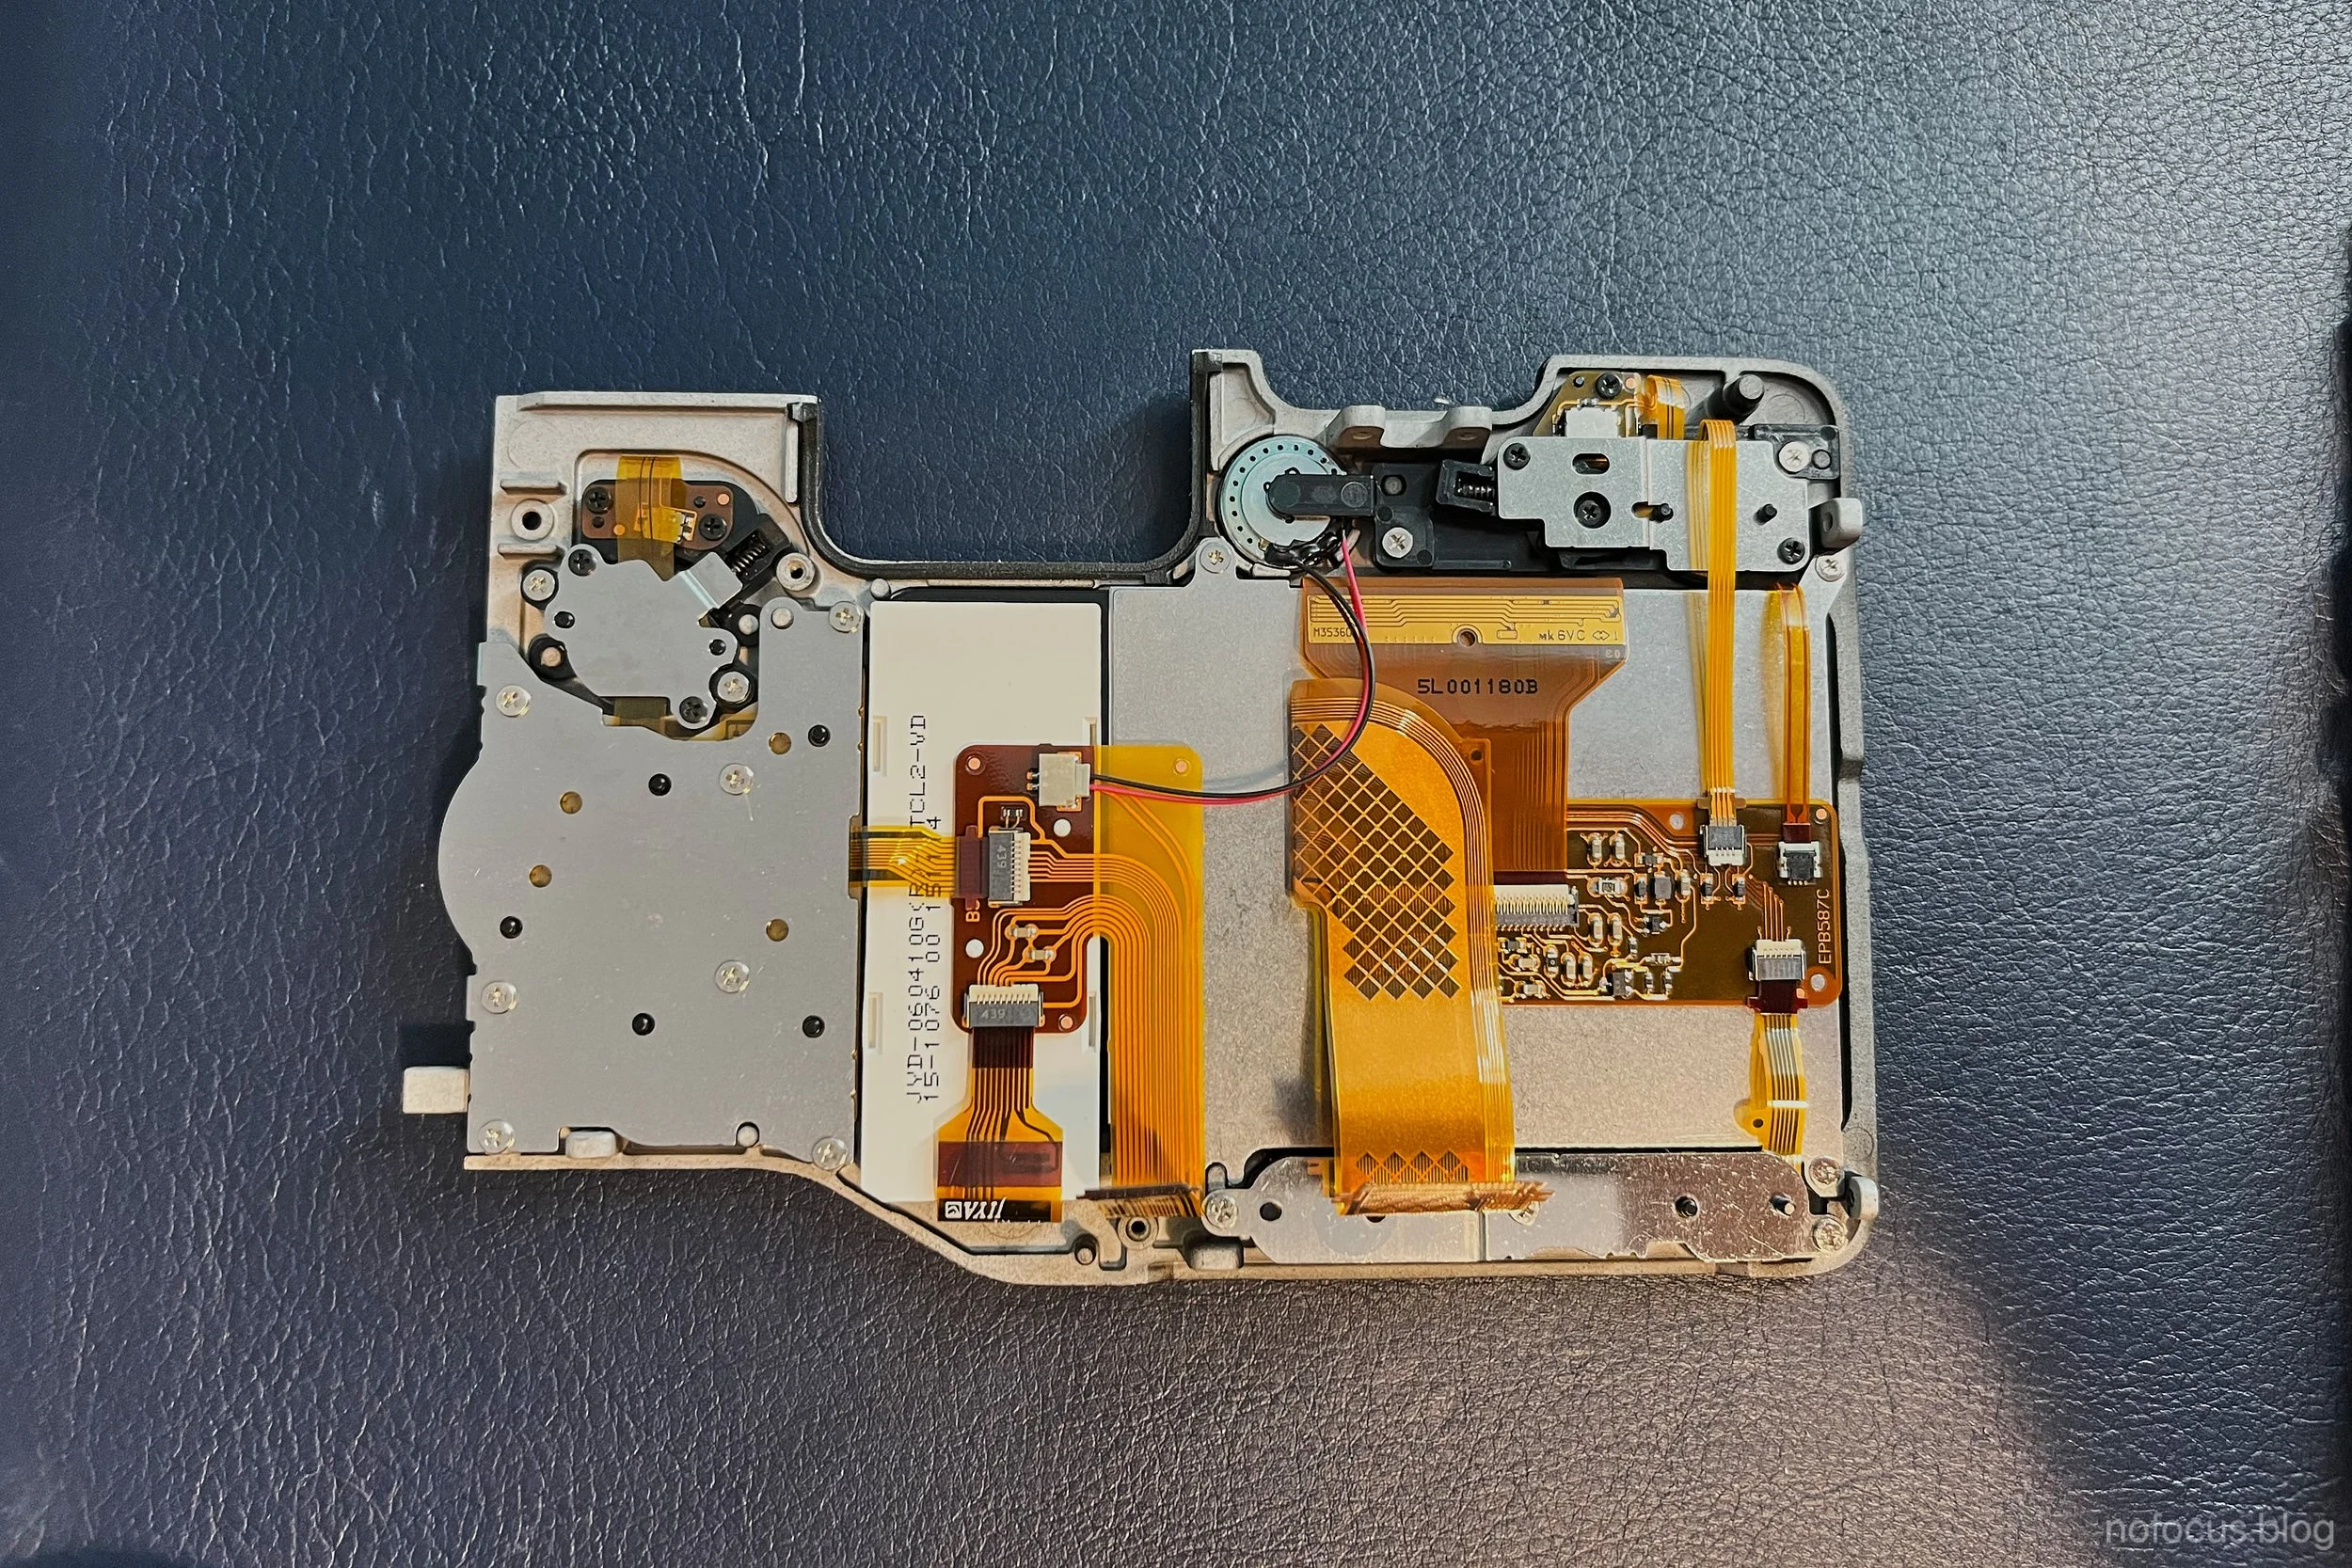


The only way is to shorten the flange distance. To do so I had to remove the sd Quattro’s long nose.
Next up, images not for the faint of heart:


This time, instead of just manually putting Leica lenses in front of the sensor, I decided to create a custom mount, an adapter, to allow manual focusing and protection from unwanted flare.
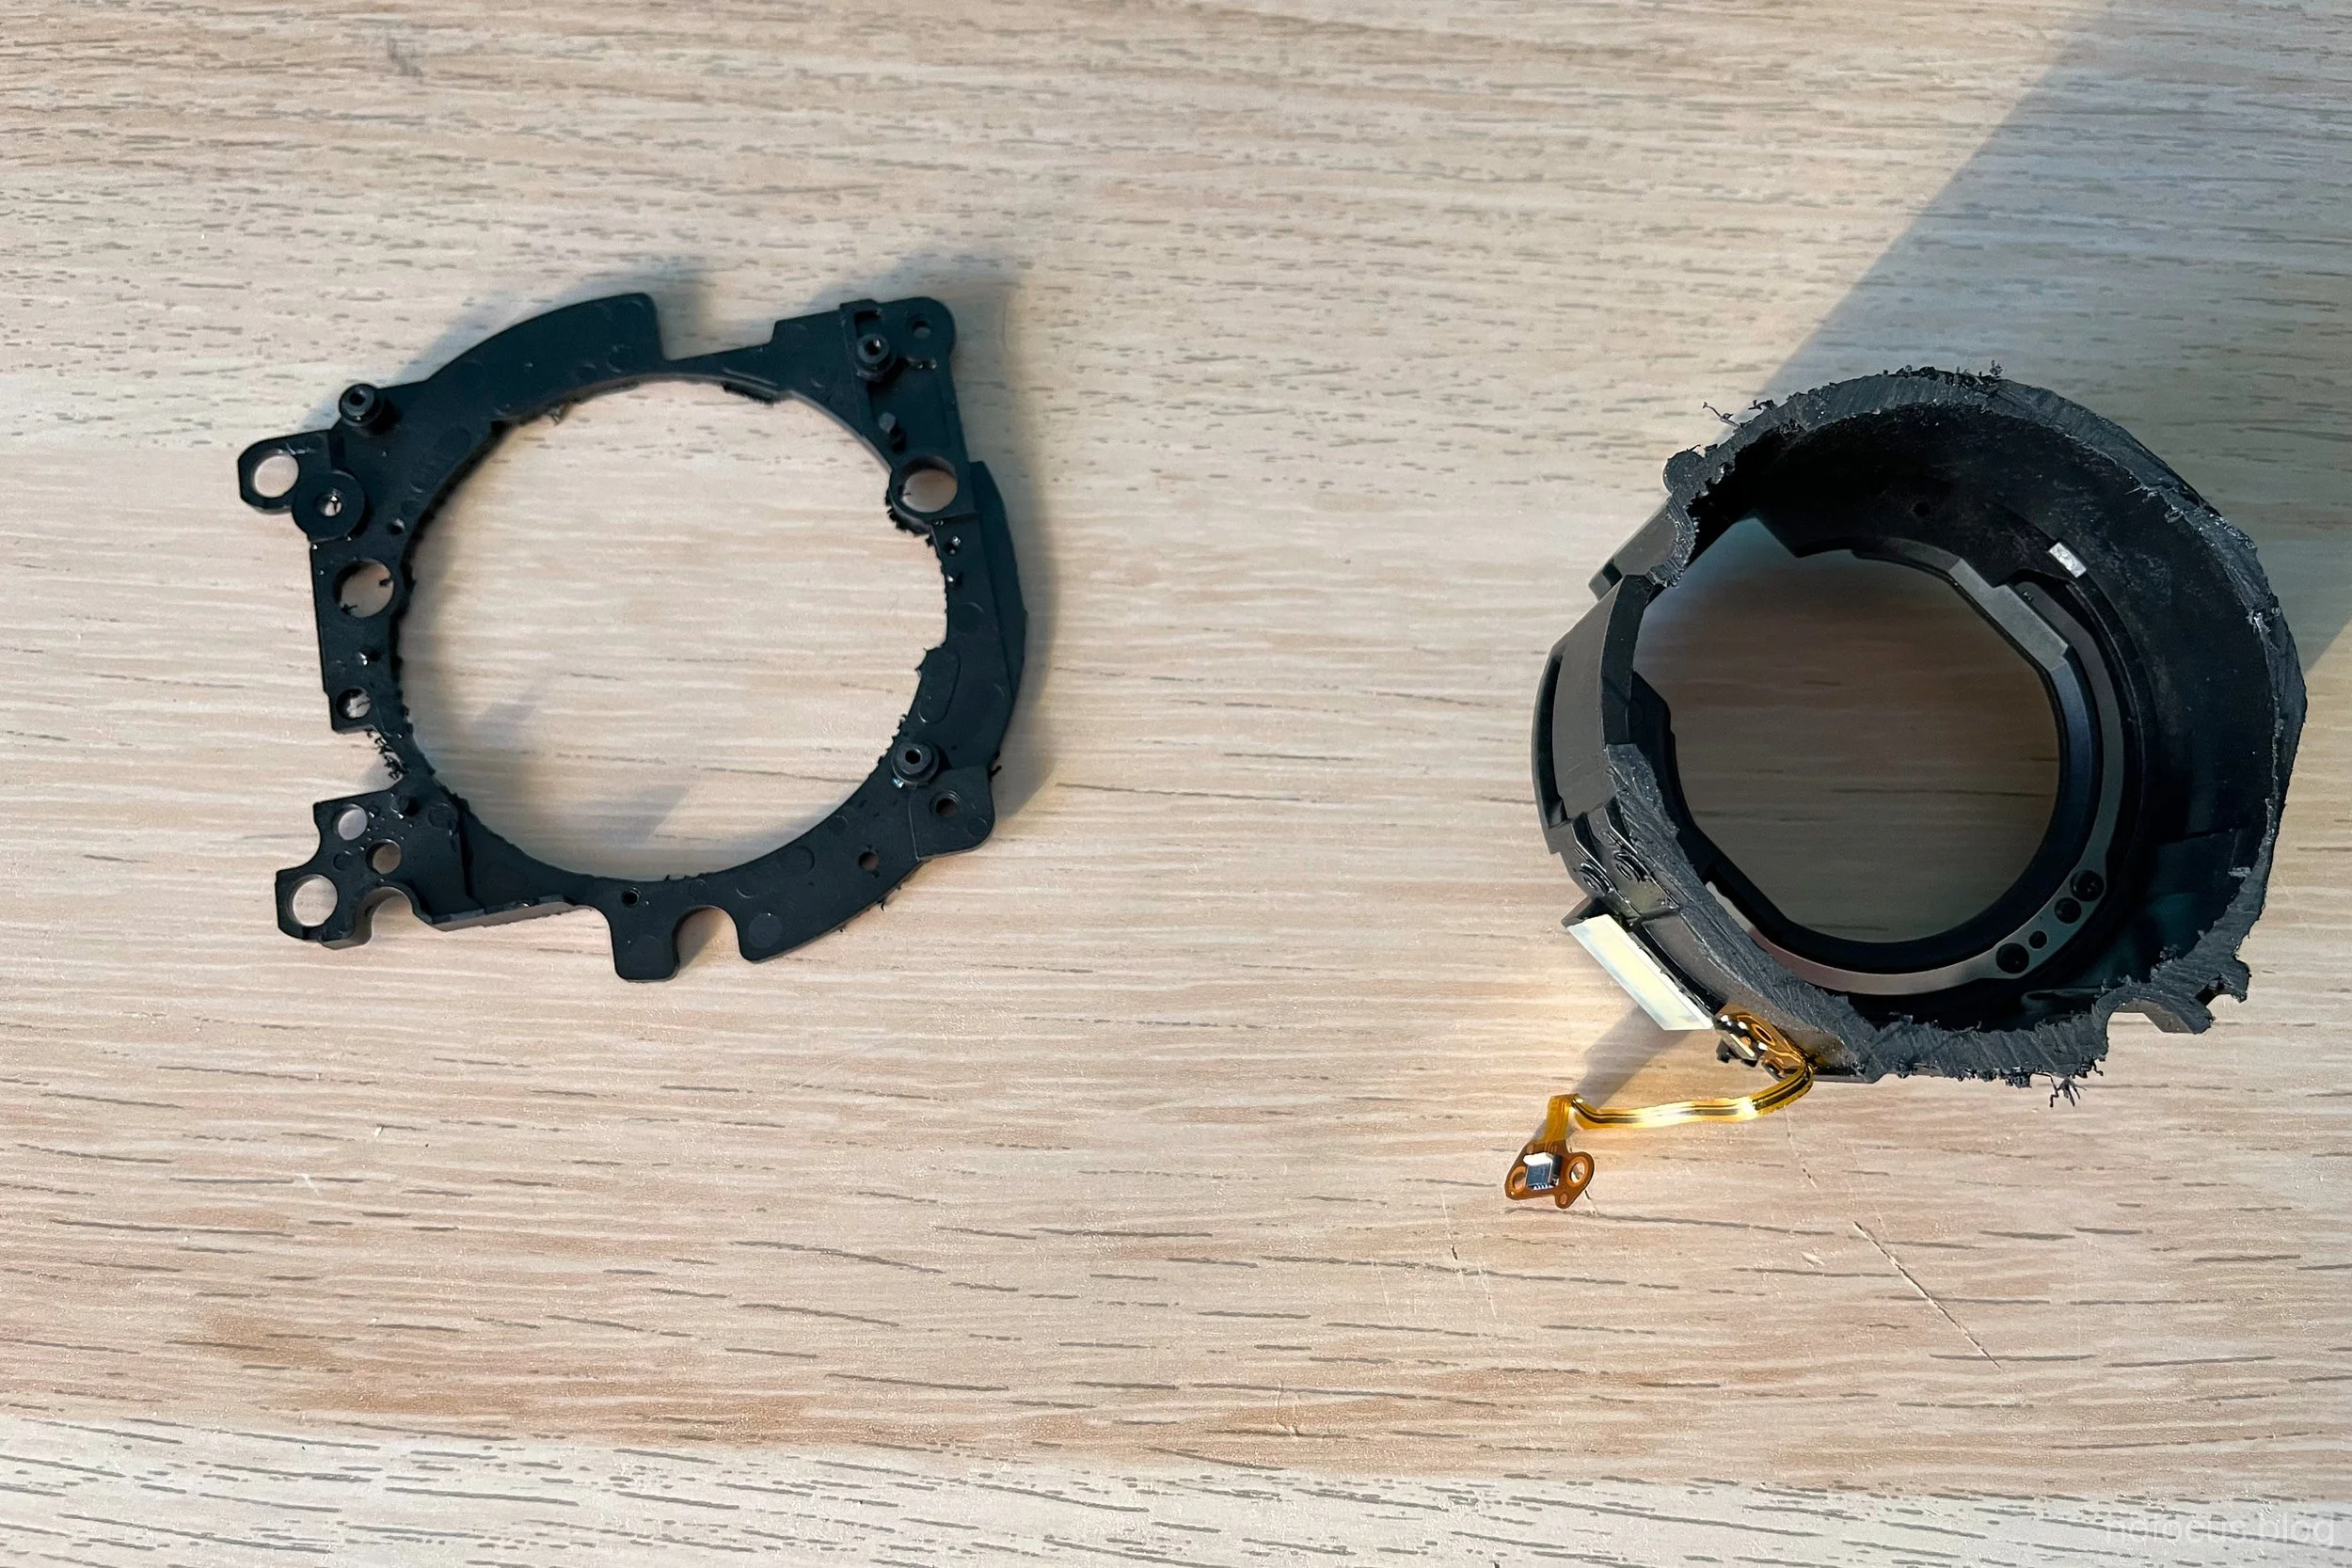
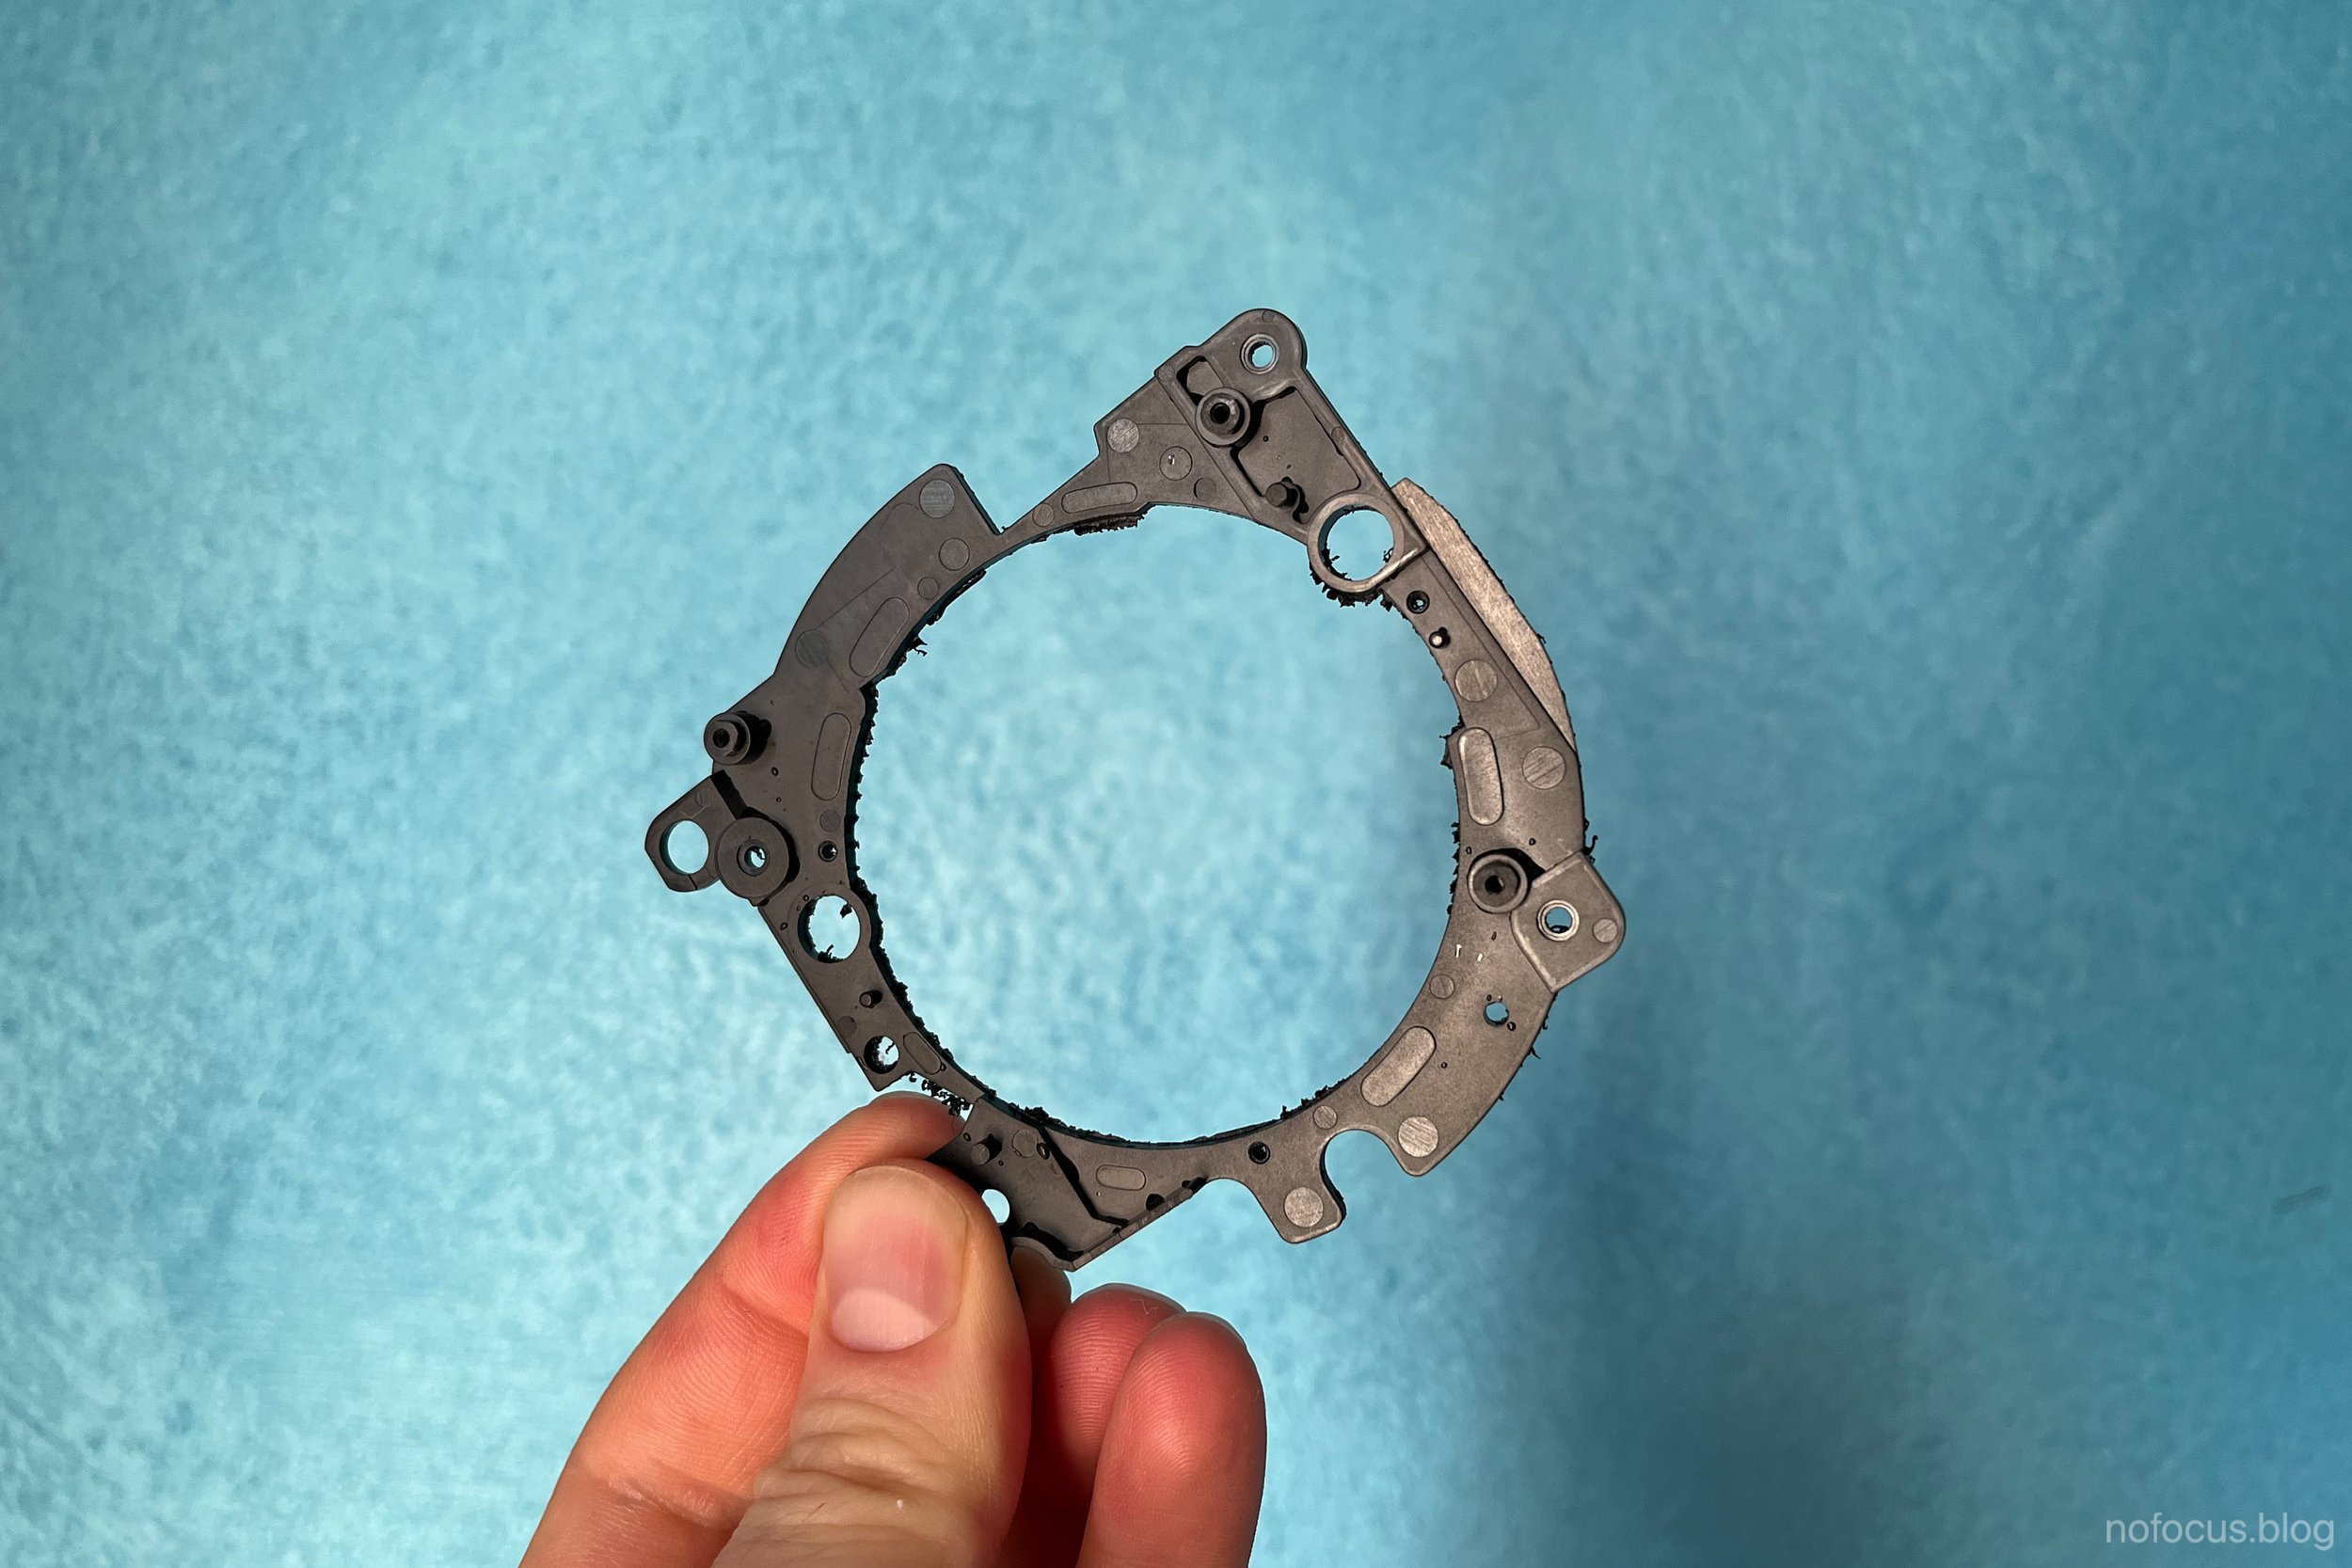
Next, some sanding:
Nice and clean, almost.
I sanded a bit the outer shell and sprayed it black.

Looking fly, isn’t it?
I did the same cutting to the inner plastic barrel:


Next, the hardest part, the custom mount.
To create it, I looked for and followed a tutorial on Youtube on how to make threads (like the ones in screws) with Fusion 360. First I had test 3D printed by a friend of mine. After redoing the piece from scratch, I sent the new piece to a professional 3D printing shop and had it printed in black nylon material.


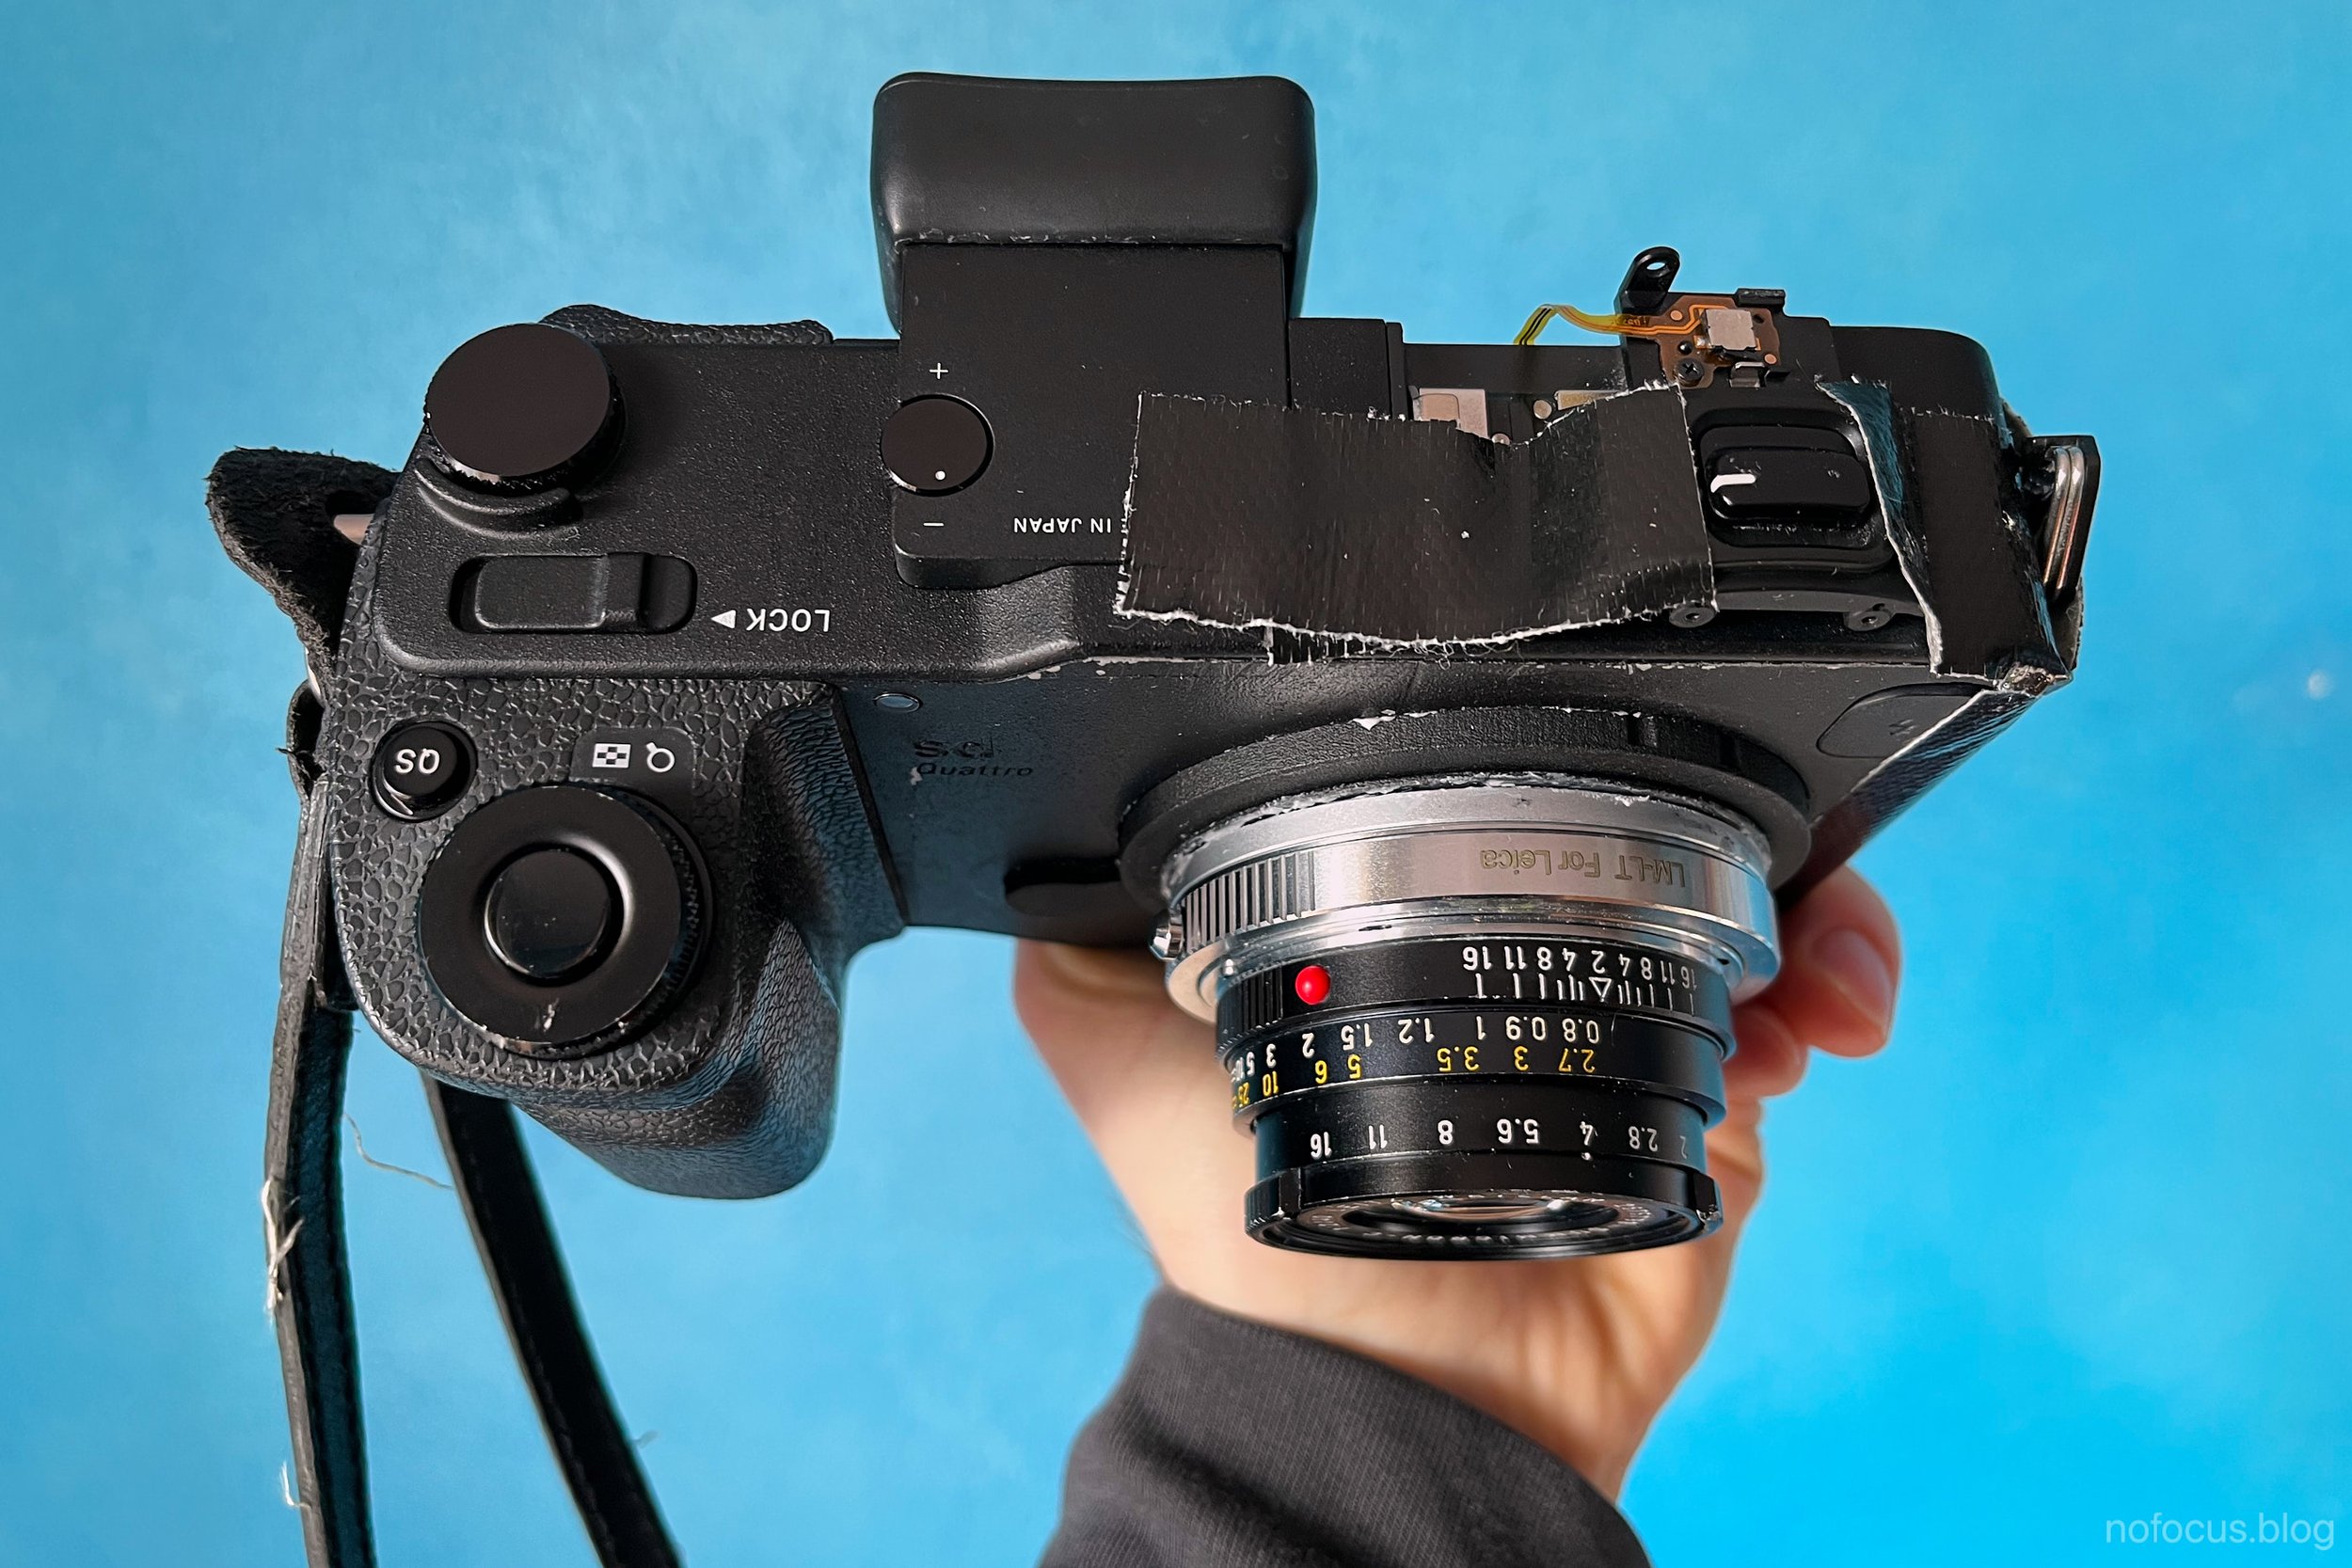
With a custom mount ready, I took a spare L mount ring I had from an old Leica T of mine and glued it to the base of the external ring. Here some pictures:


Then I glued the base plate to the camera itself:


Final result with Leica Summicron 40mmf2 mounted:
Ok, after all of this you ask, how do the pictures look? How does it compare?
First I would like to address two main issues I found:
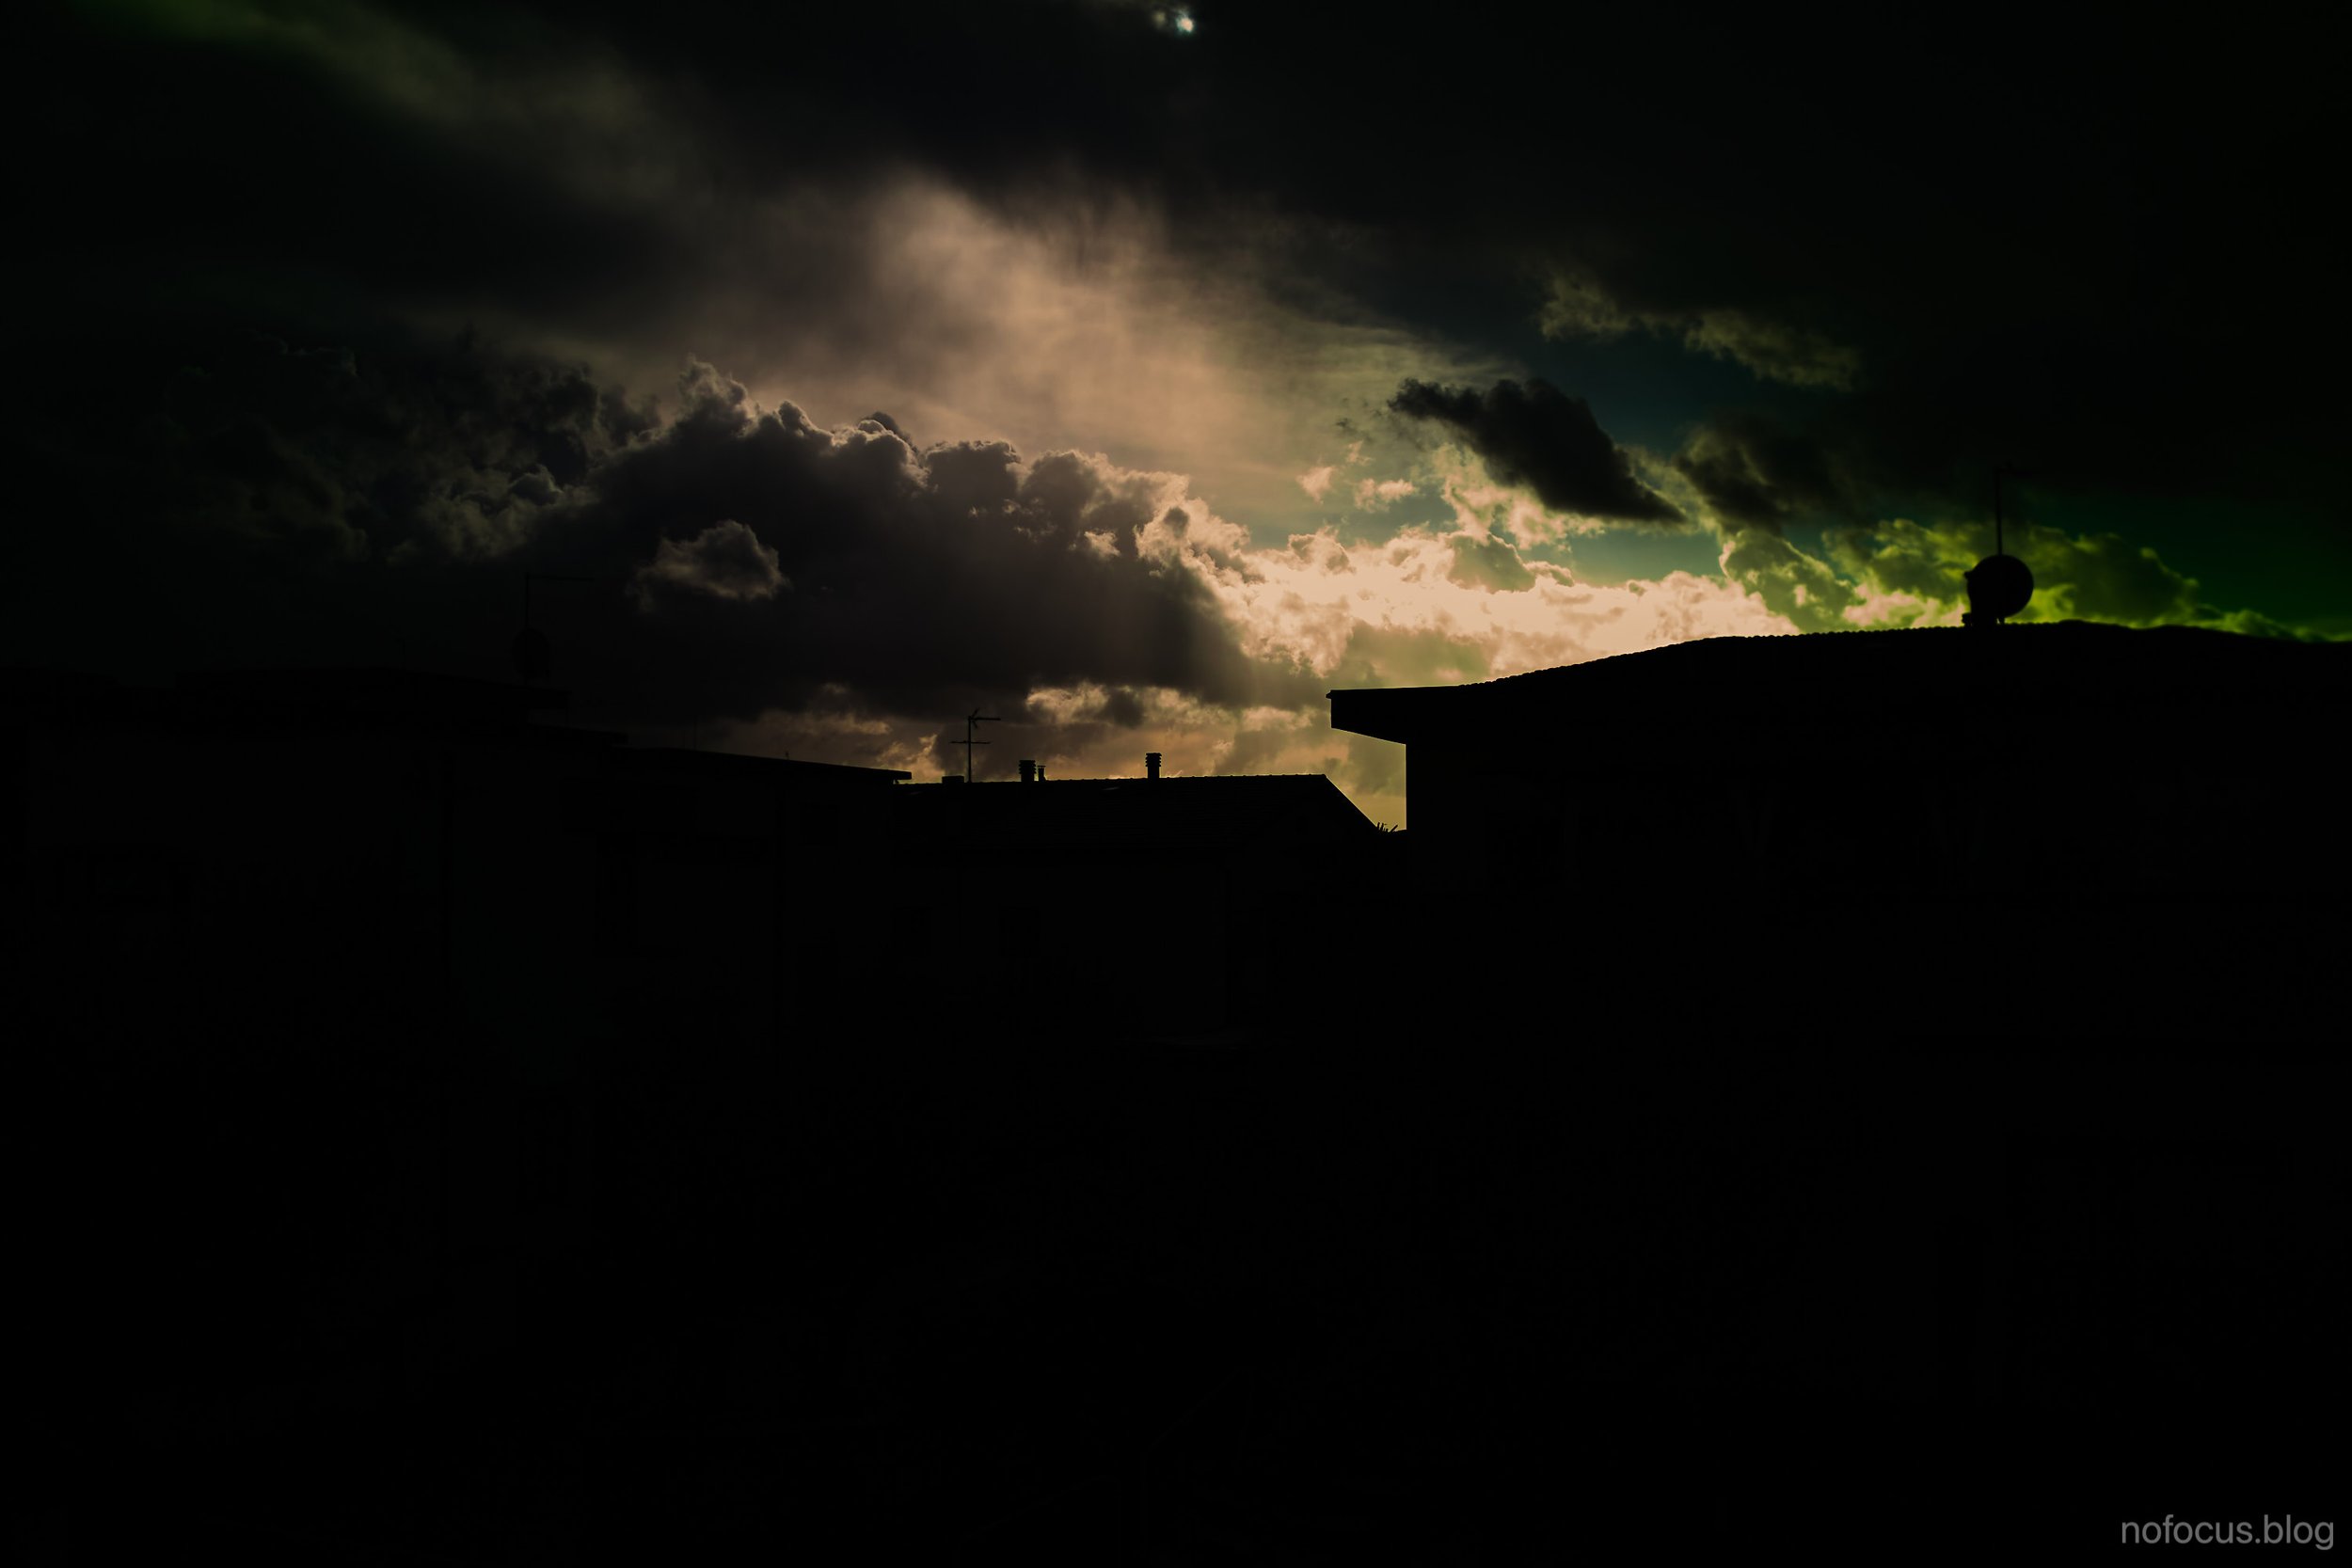
On the right side of the image, there is a green flare;
Highlights tend to clip fast and when recovered in post, leave a magenta tone to the blown out areas.
After some more testing I came about the reason.
The green flare/cast happens on Leica Lenses only. I a lesser way with M lenses. I guess about why it happens it is because of the wider angle at witch light comes out of it.
When I took some pictures with a 60mm Nikon macro lens, the flare was gone.
Considering the original flange distance is closer to the Nikon’s, it may make sense.
I remember reading, Leica M digital sensor was delayed because this.
About the second issue, I am not entirely sure, as I could not do enough testing.
You see, my original sigma Hot Mirror filter, broke…
Anyways, I suspected the problem to be the hot mirror filter. I use a Kolari vision one on my full spectrum converted cameras but the filter is different from the one present inside of those cameras. By that I mean while balance and colours change compared to the original maker’s ones.
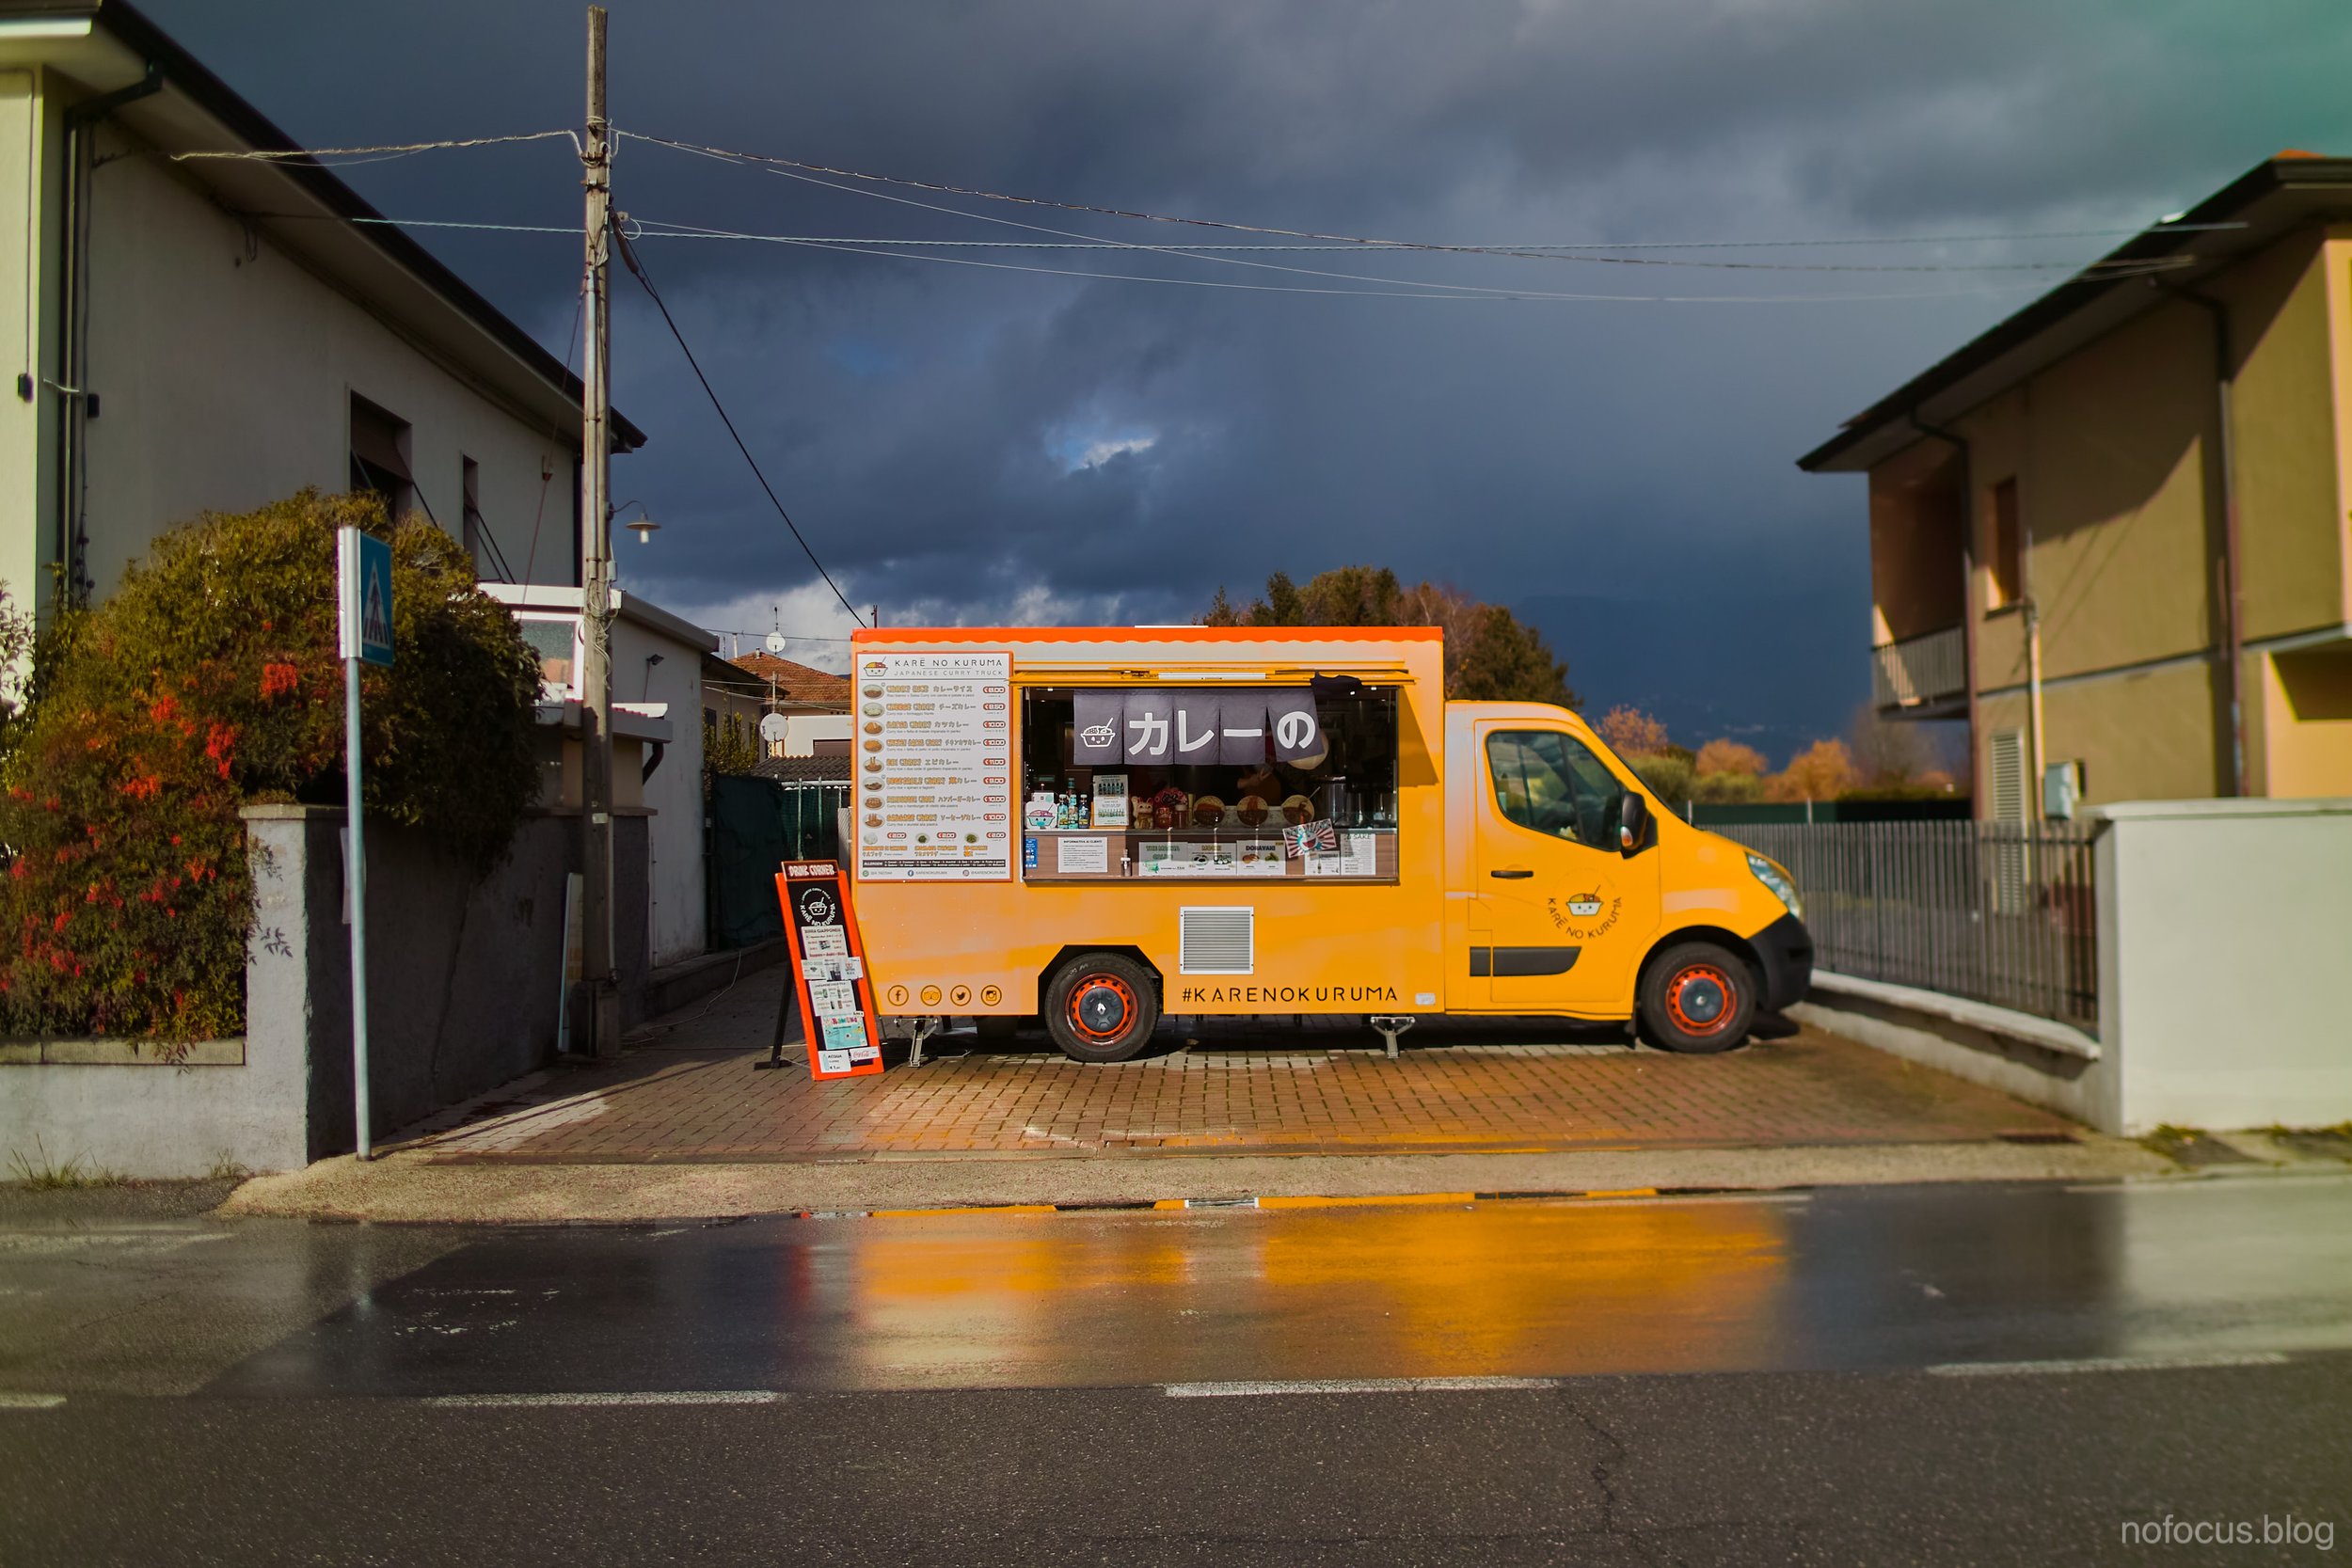
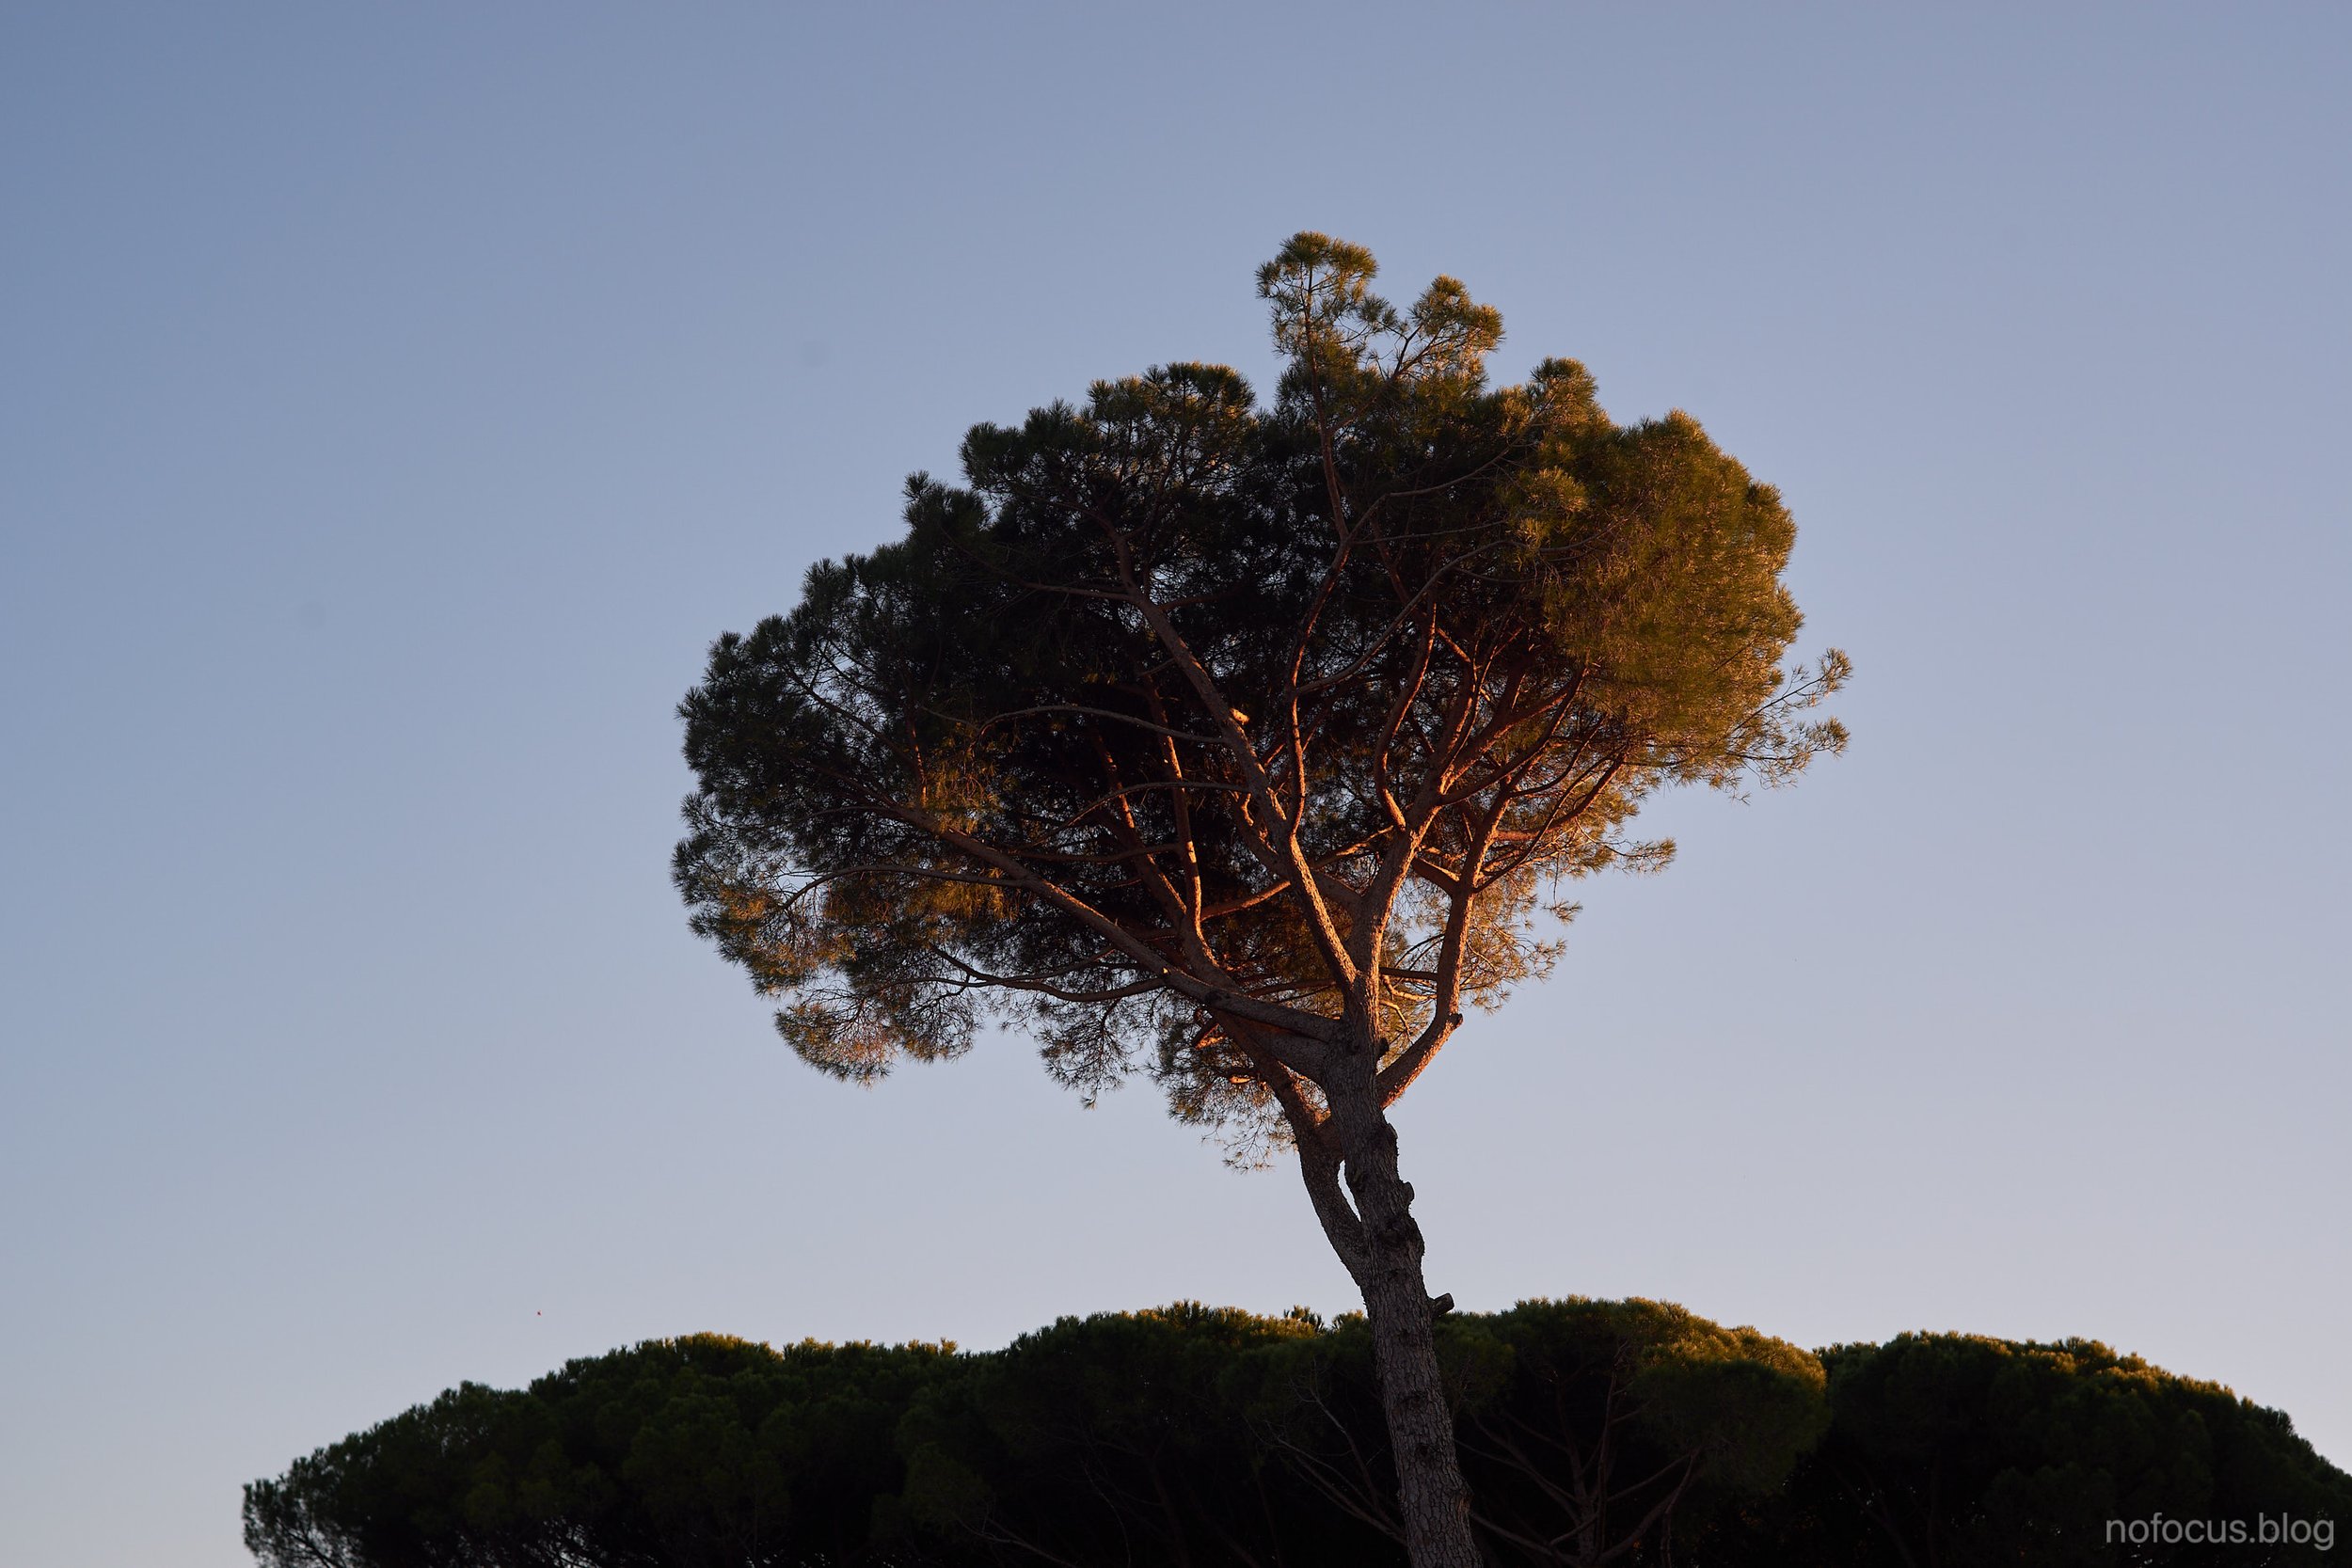
I was able to take one shot of the clouds with both filters, same lens, and I feel that’s the main problem.
With sigma’s original HM filter, I can recover highlight in a way that feels natural/familiar.
Using Kolari Vision’s one, nope.
Here two pictures, contrast and recovery added to emphasise.

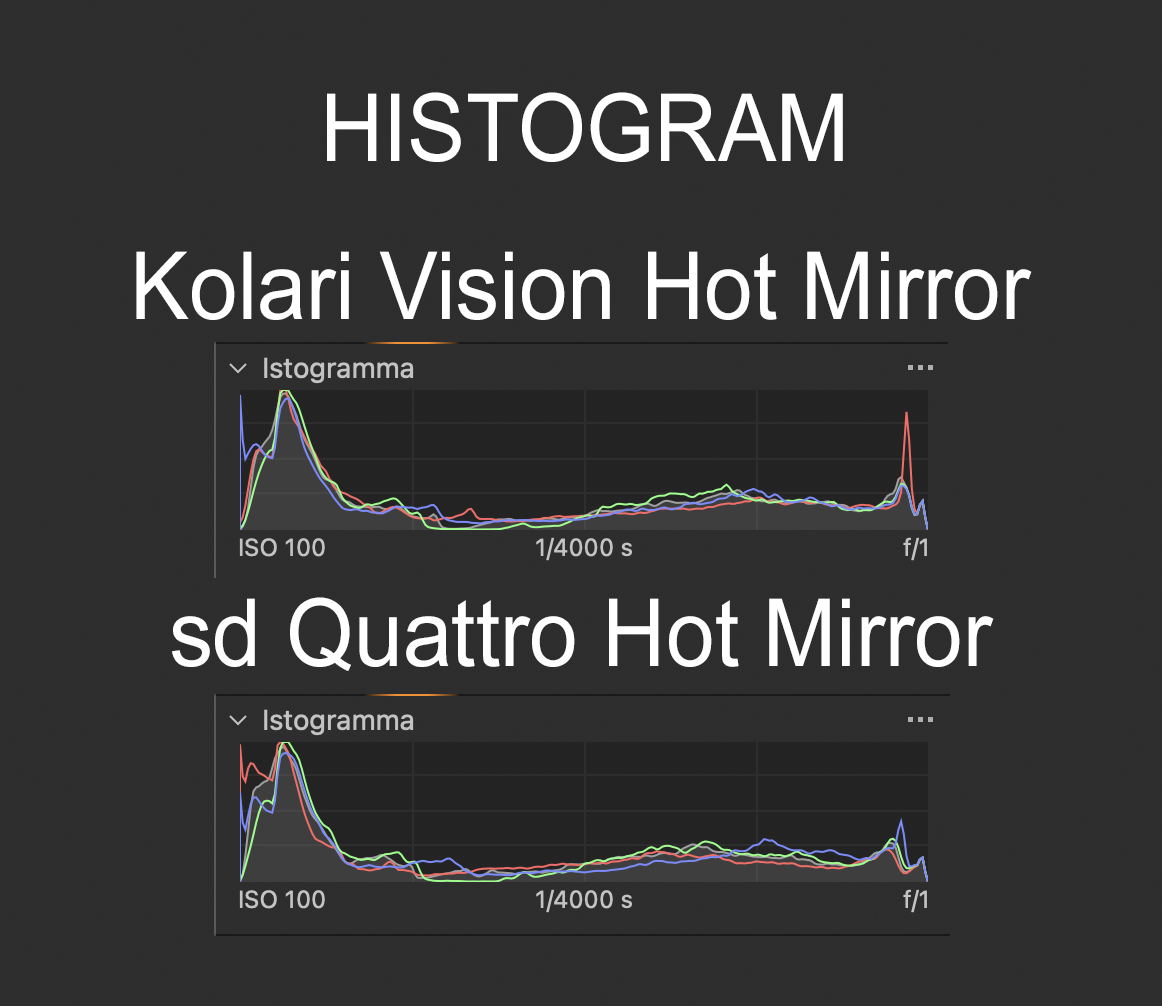
Histogram of the before posted photos.
What do you think?
I ordered a second generation HM Kolari filter and will update this post if the results will be different.
Probably the sigma one, cuts more after 600nm or so. I also tried to add a UV/IR cut filter from Hoya on top of the Kolari but change. The reflected reds look different anyways.


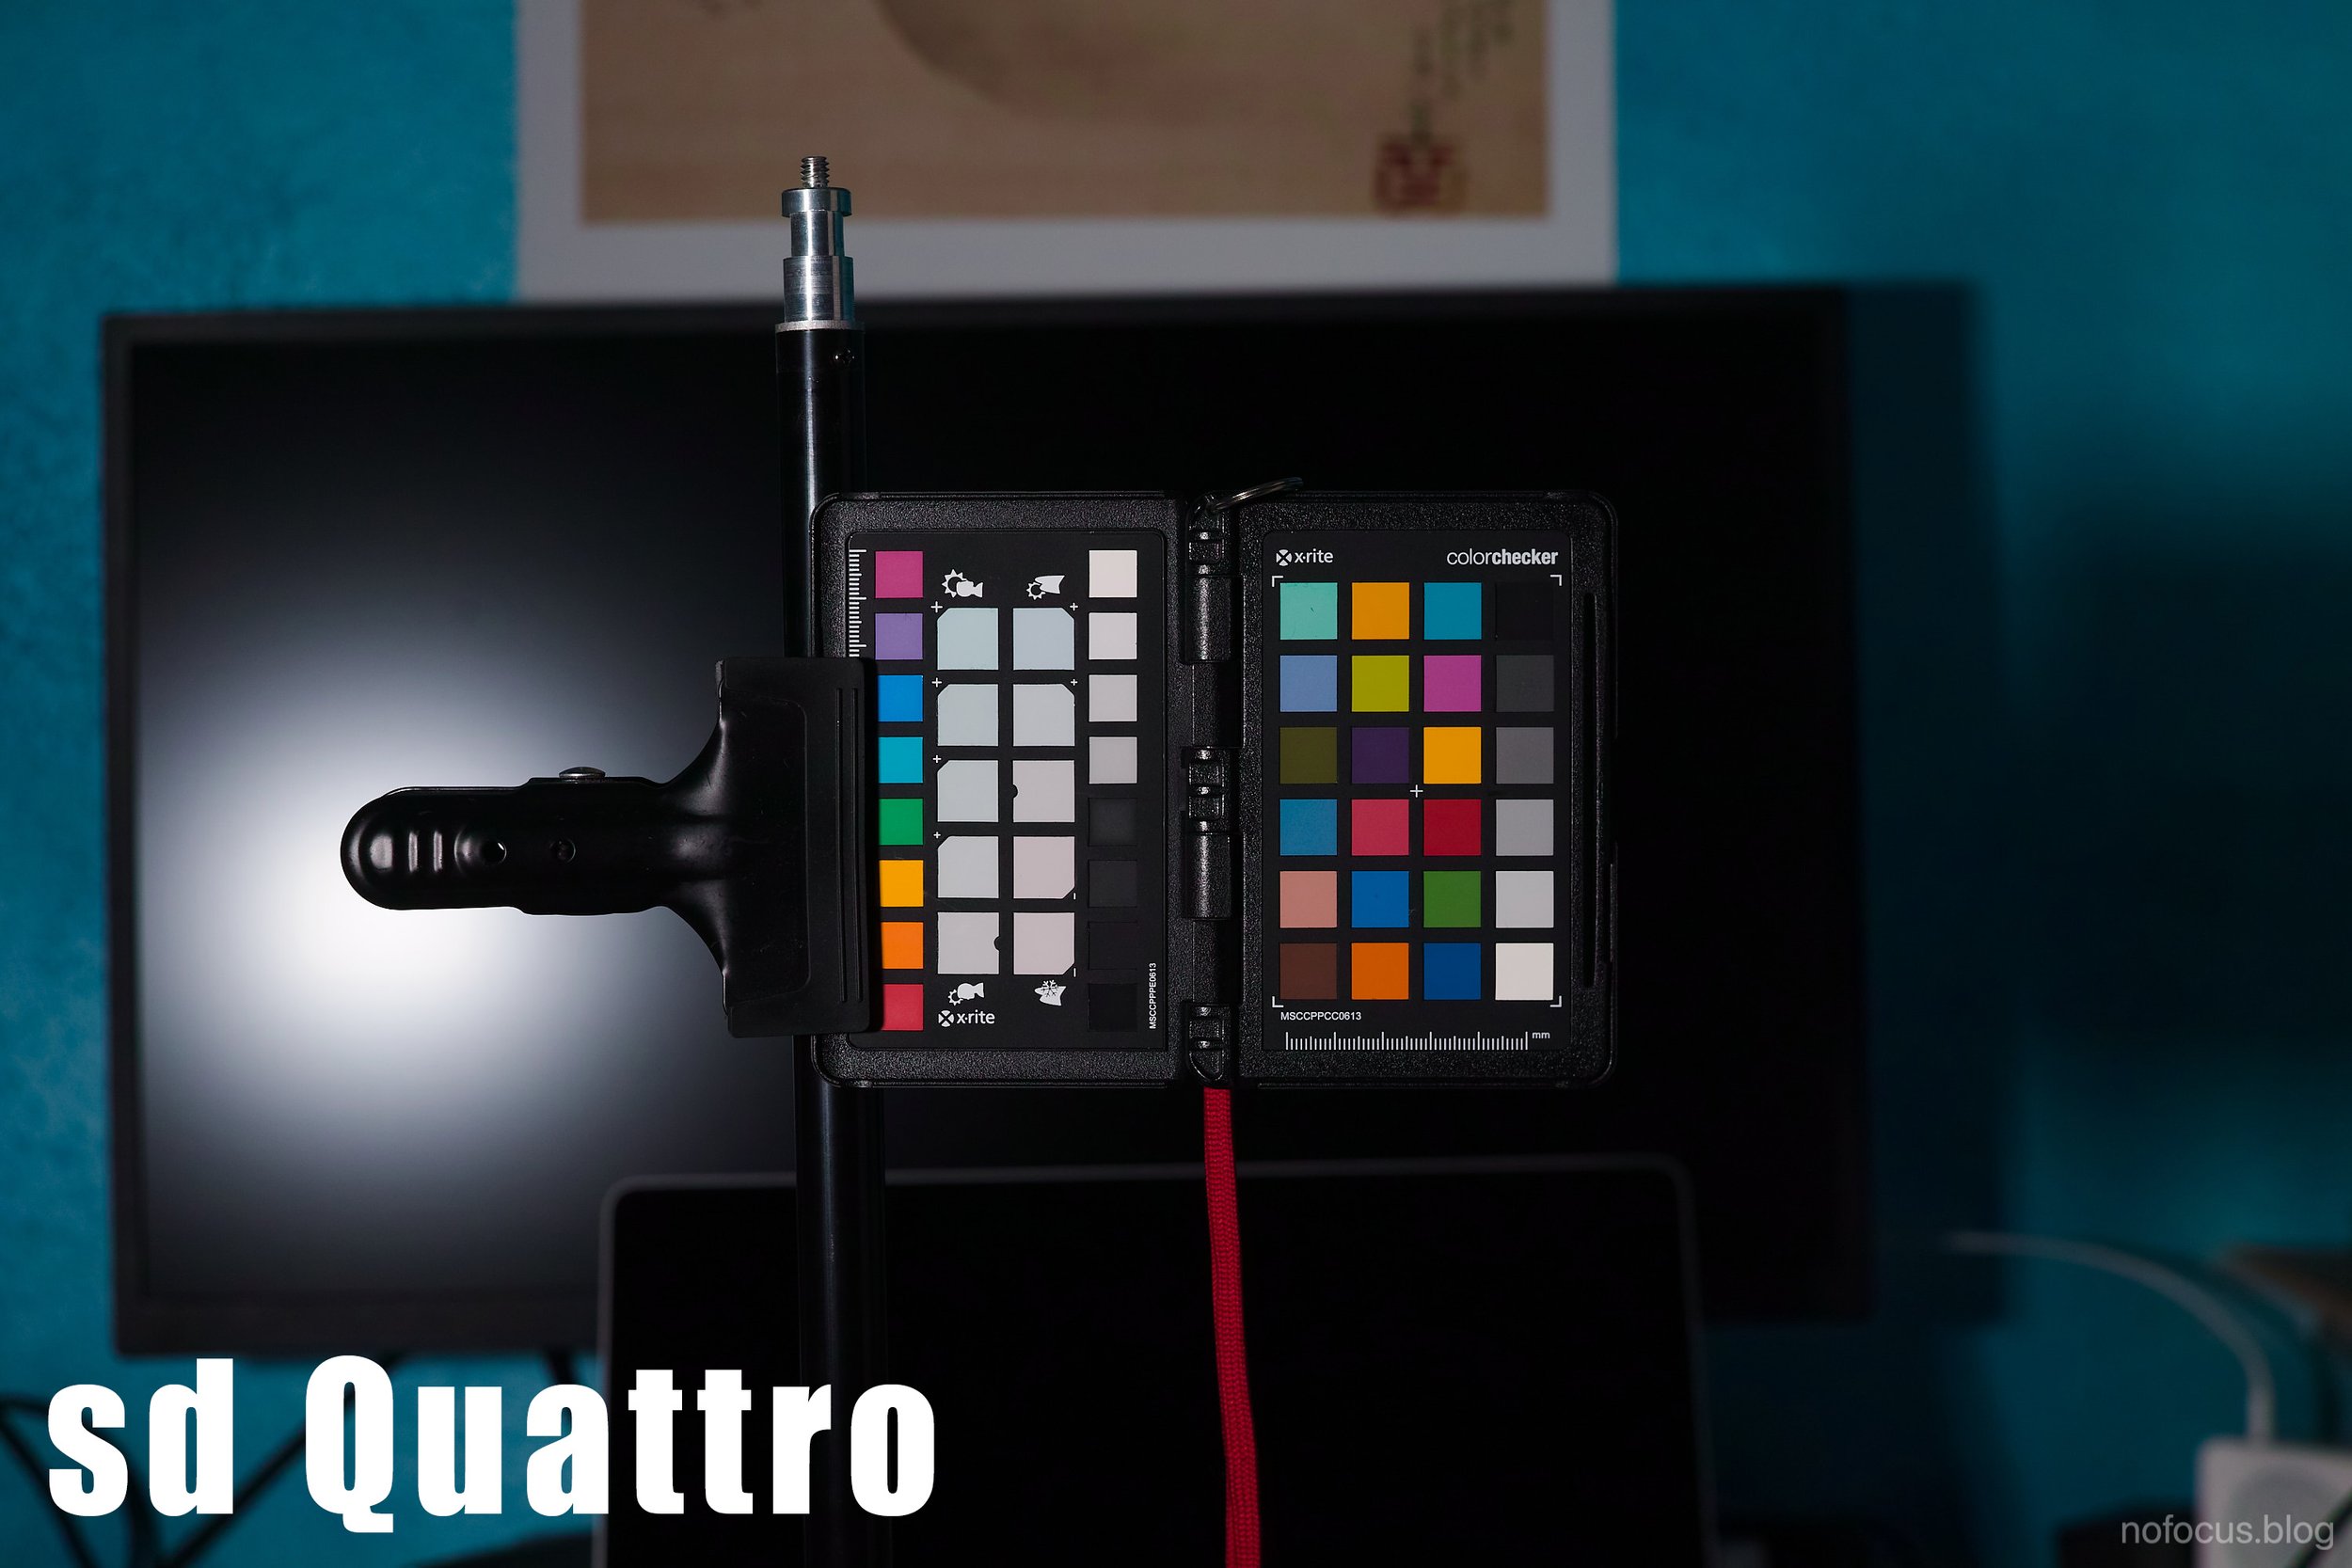
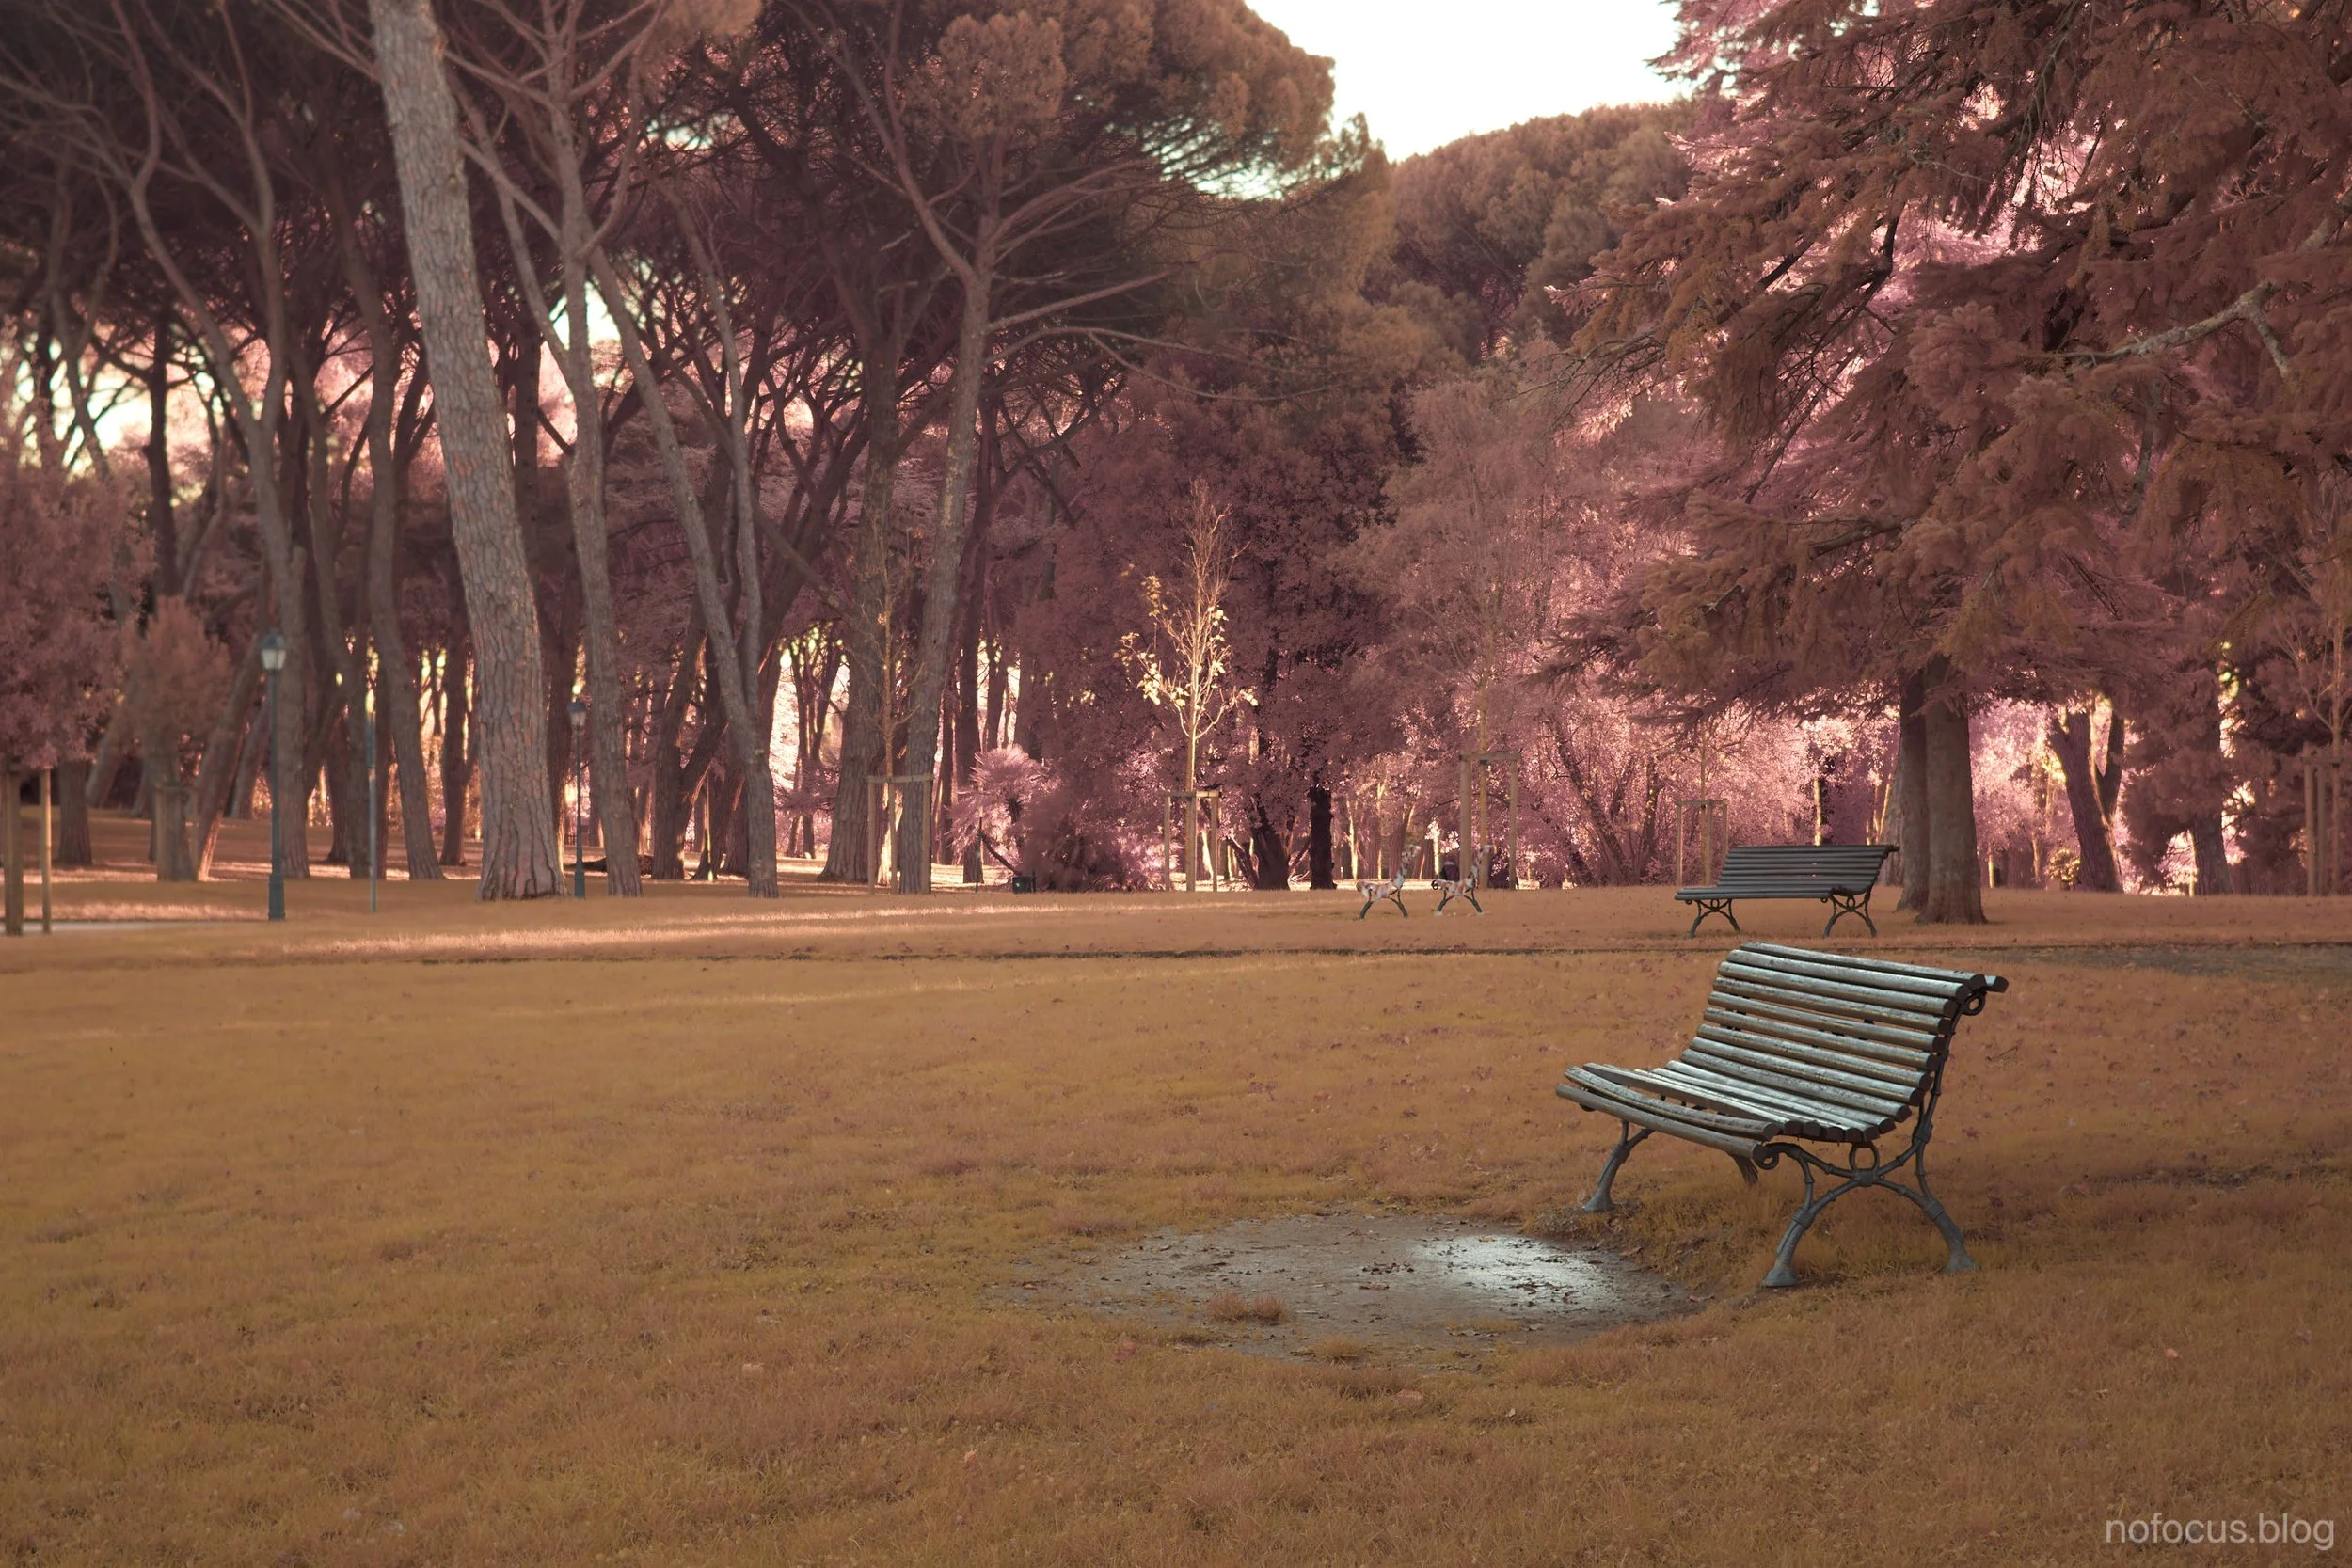
Next up, some more technical samples in oder to take a look a colours. Taken with a 40mm Summicron.
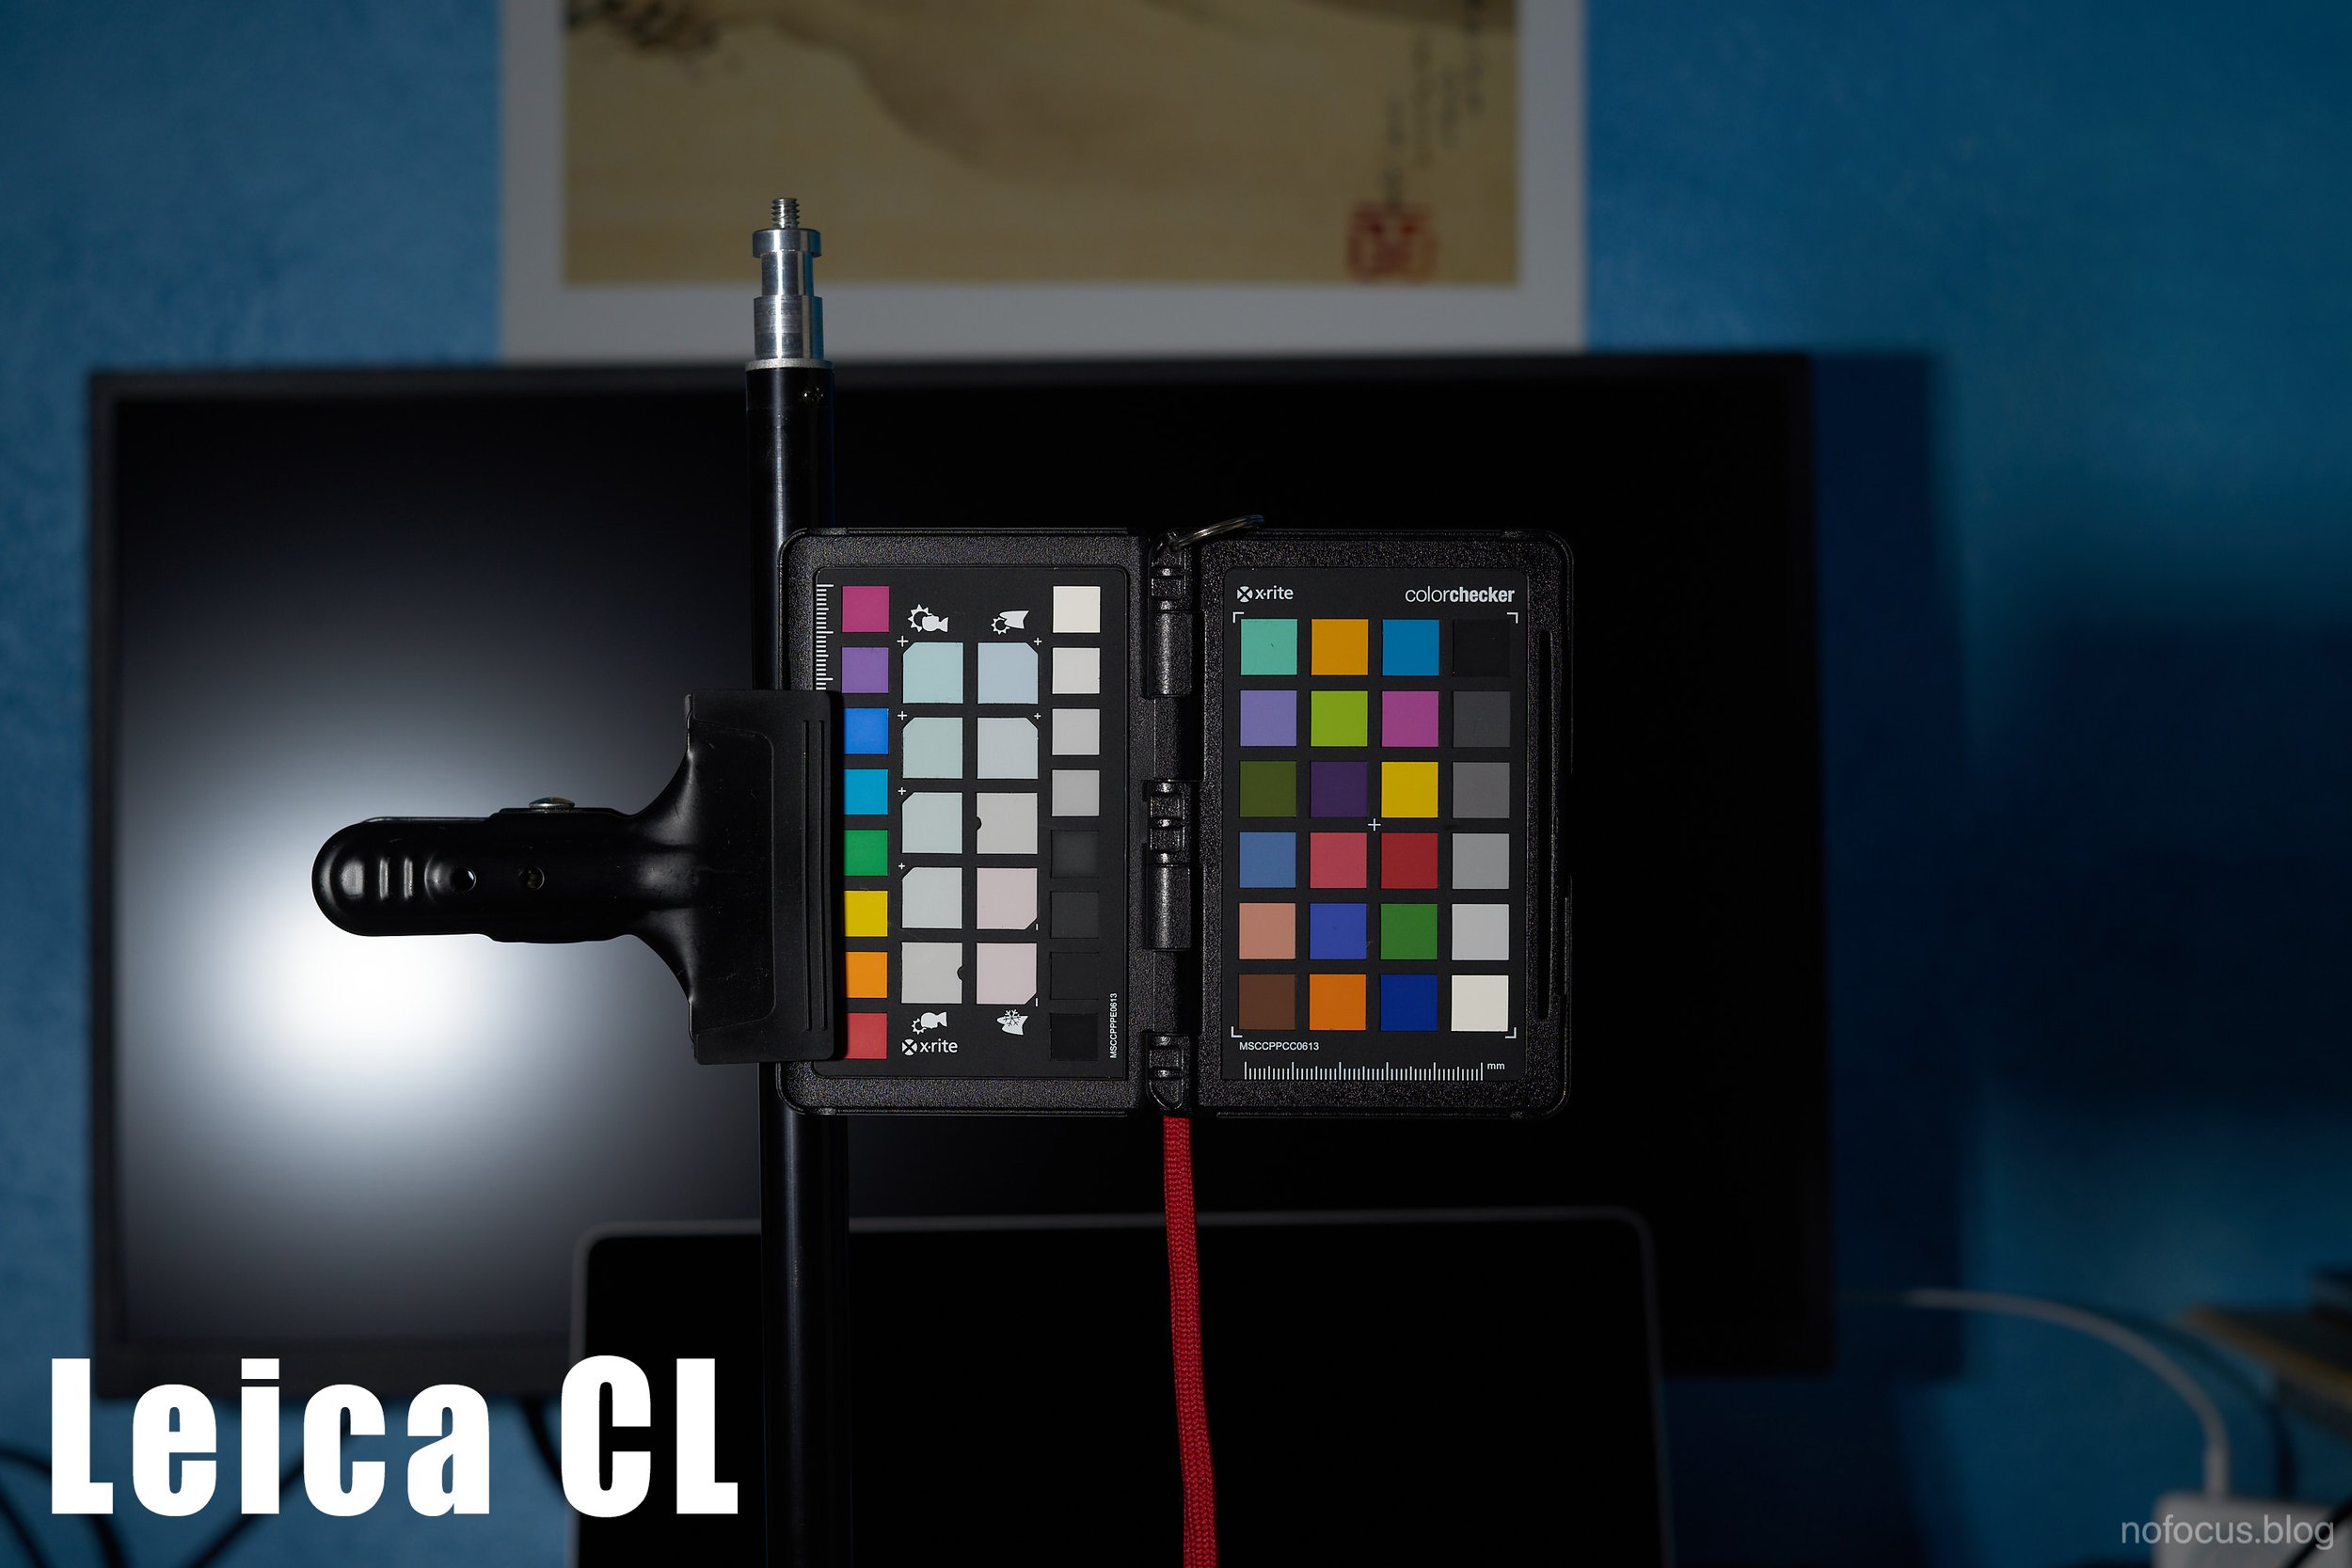
Before breaking the filter I compared the sigma one to the Kolari to see if the where any differences in colour rendition. There were.


Update on the filter:
I received the pro 2 Hot Mirror filter from Kolari and there is a slight improvement in the highlights clipping.
Non as good as the original filter but better then the previous one.


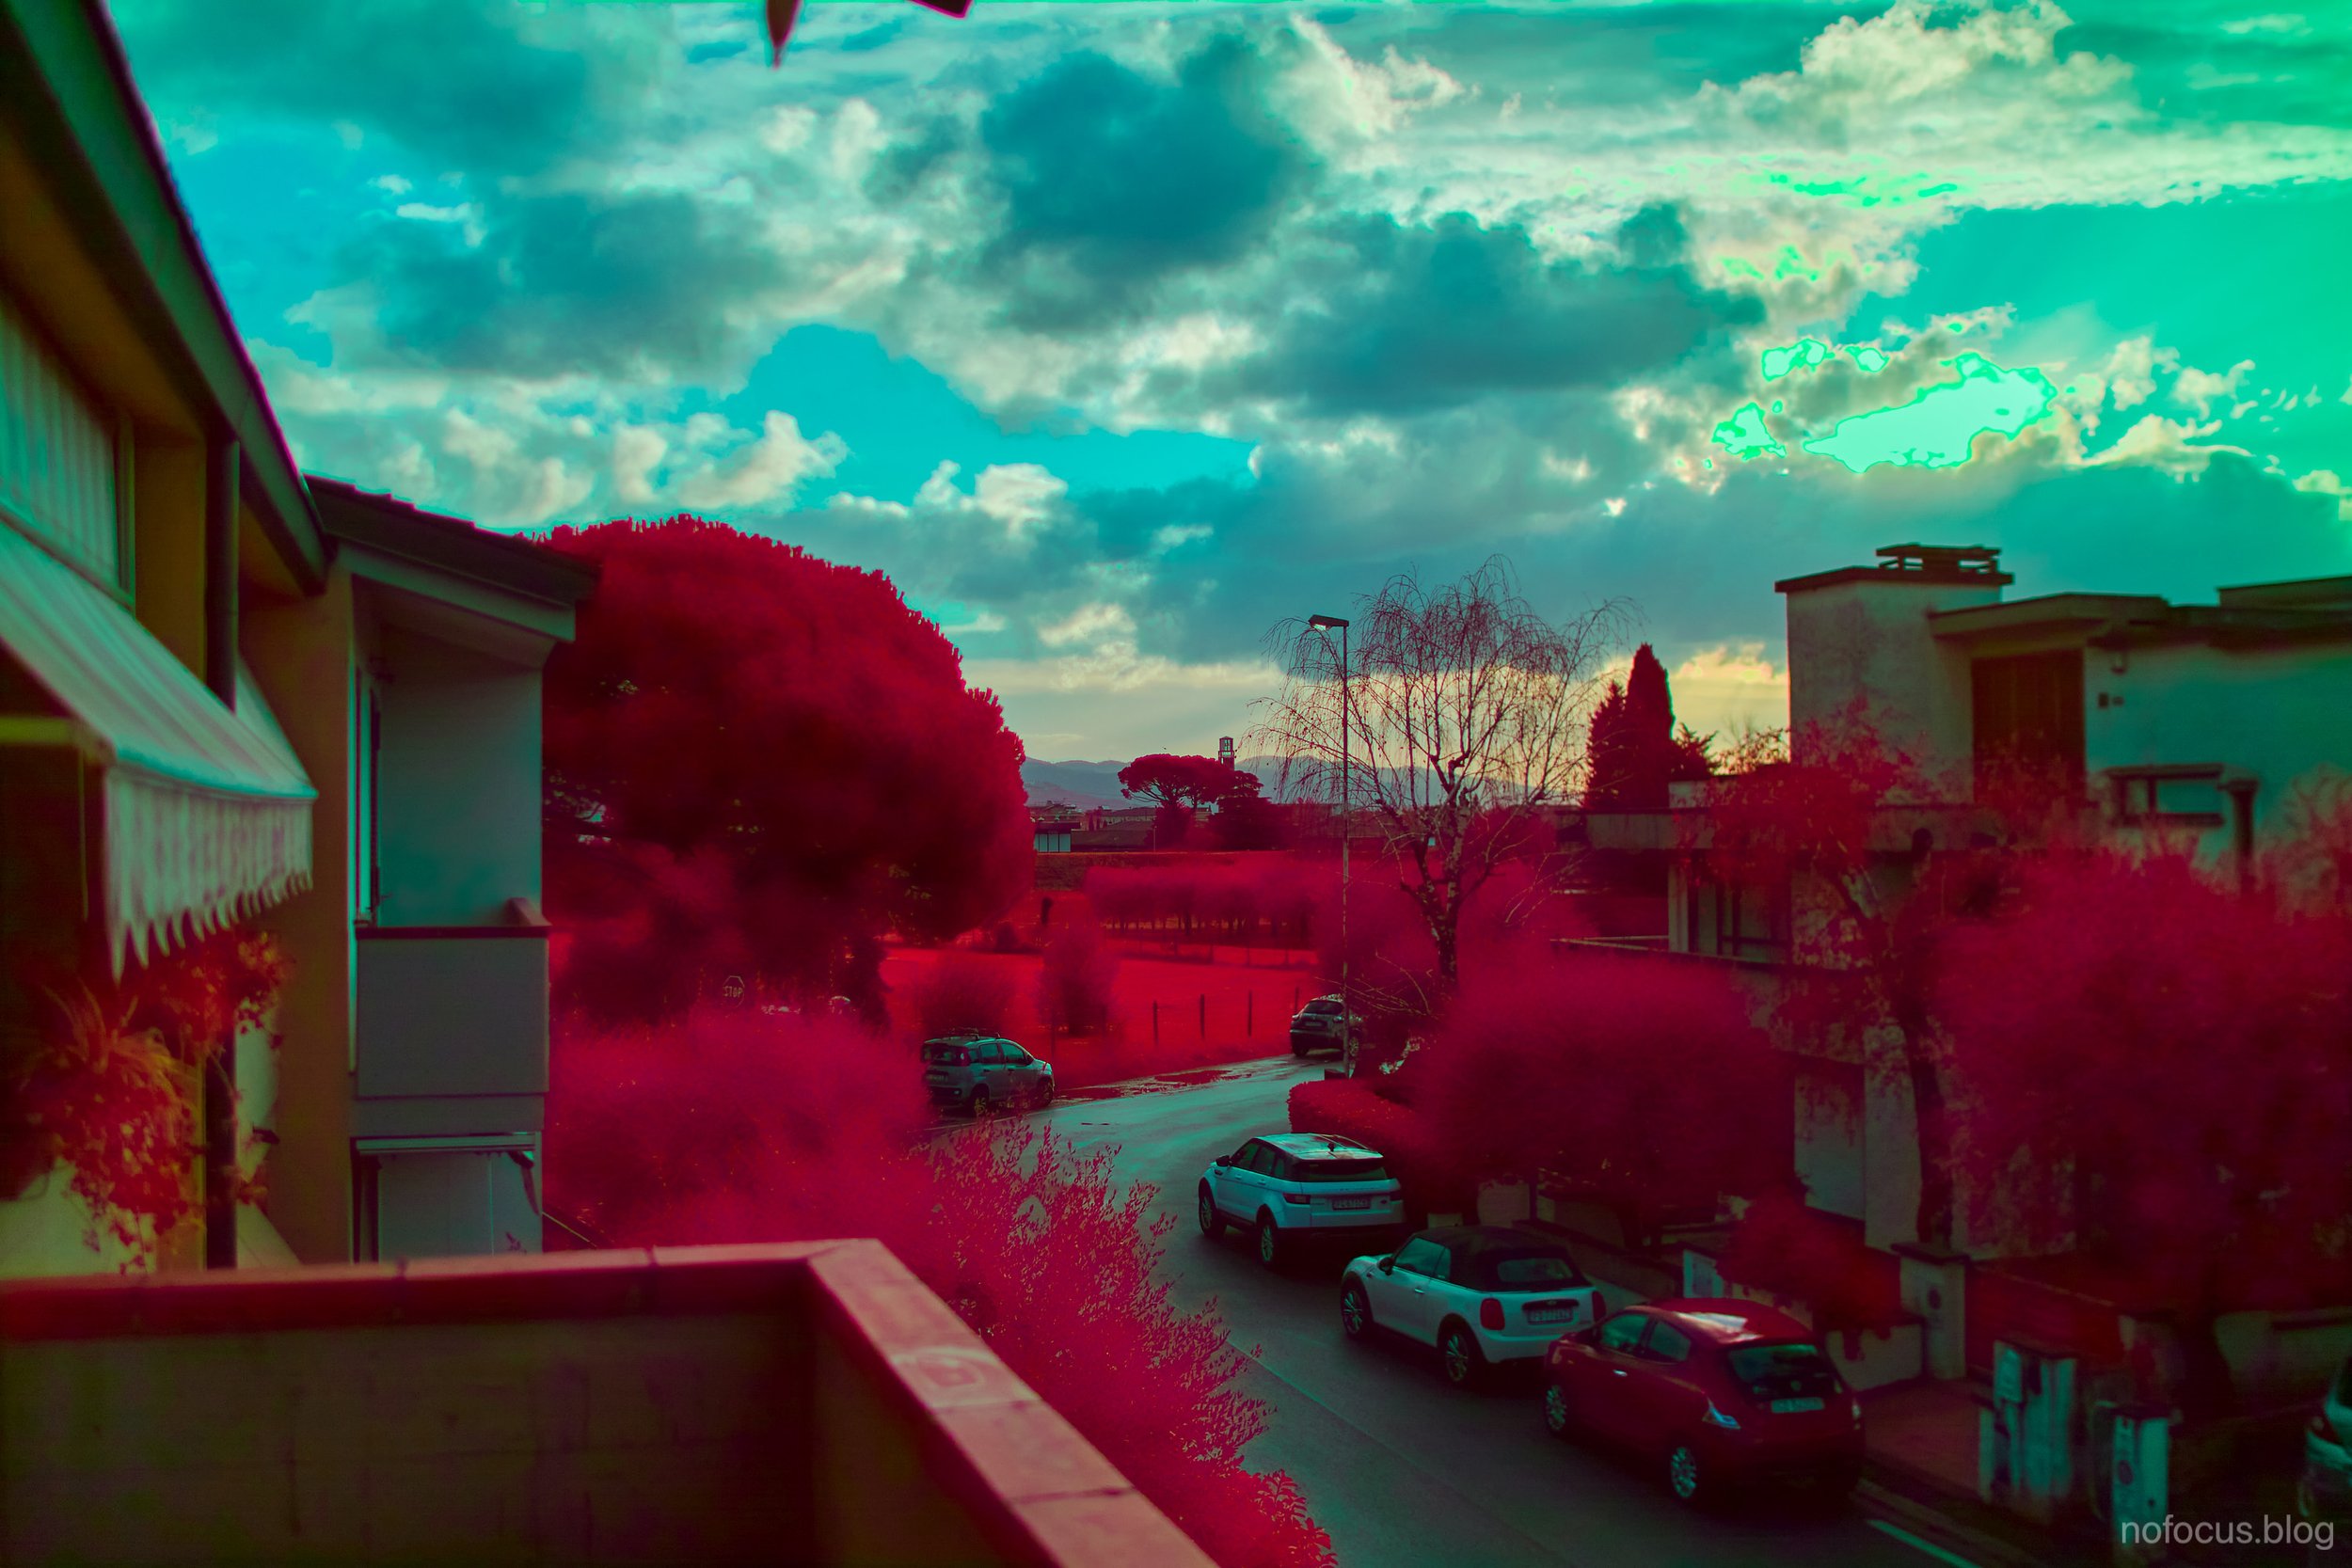
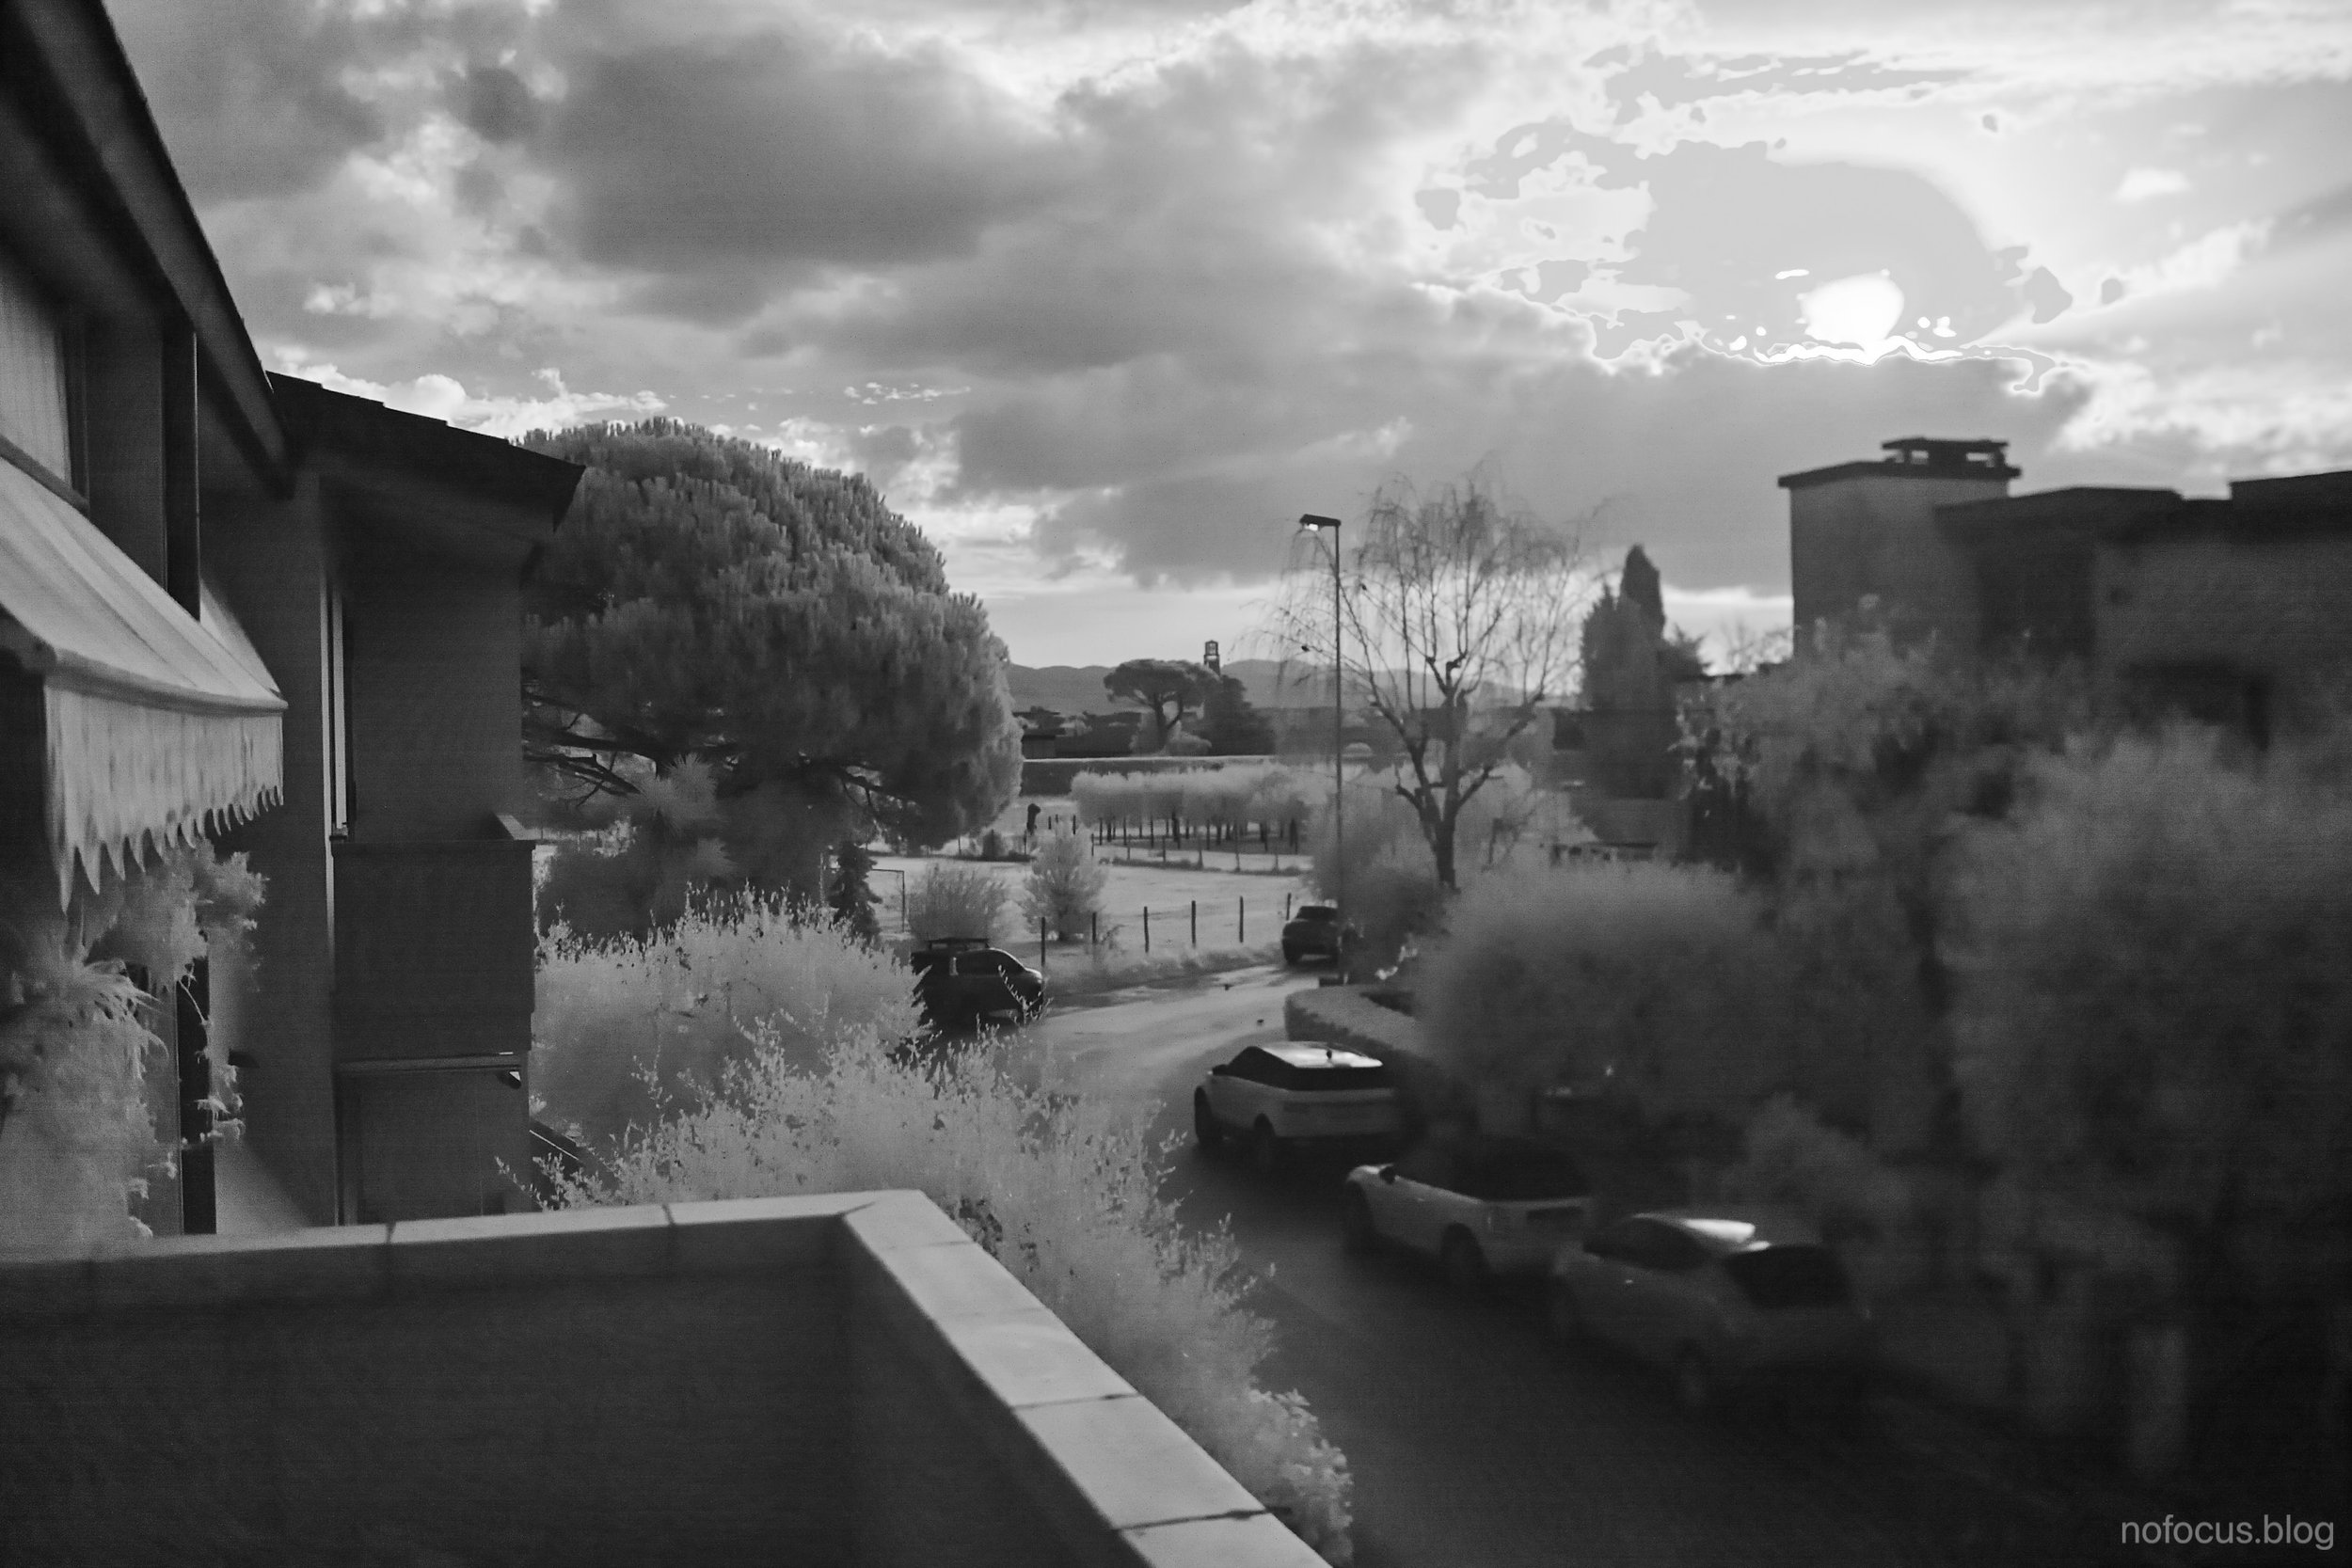
Something it’s also off using a IR 850nm filter and IR Chrome one…
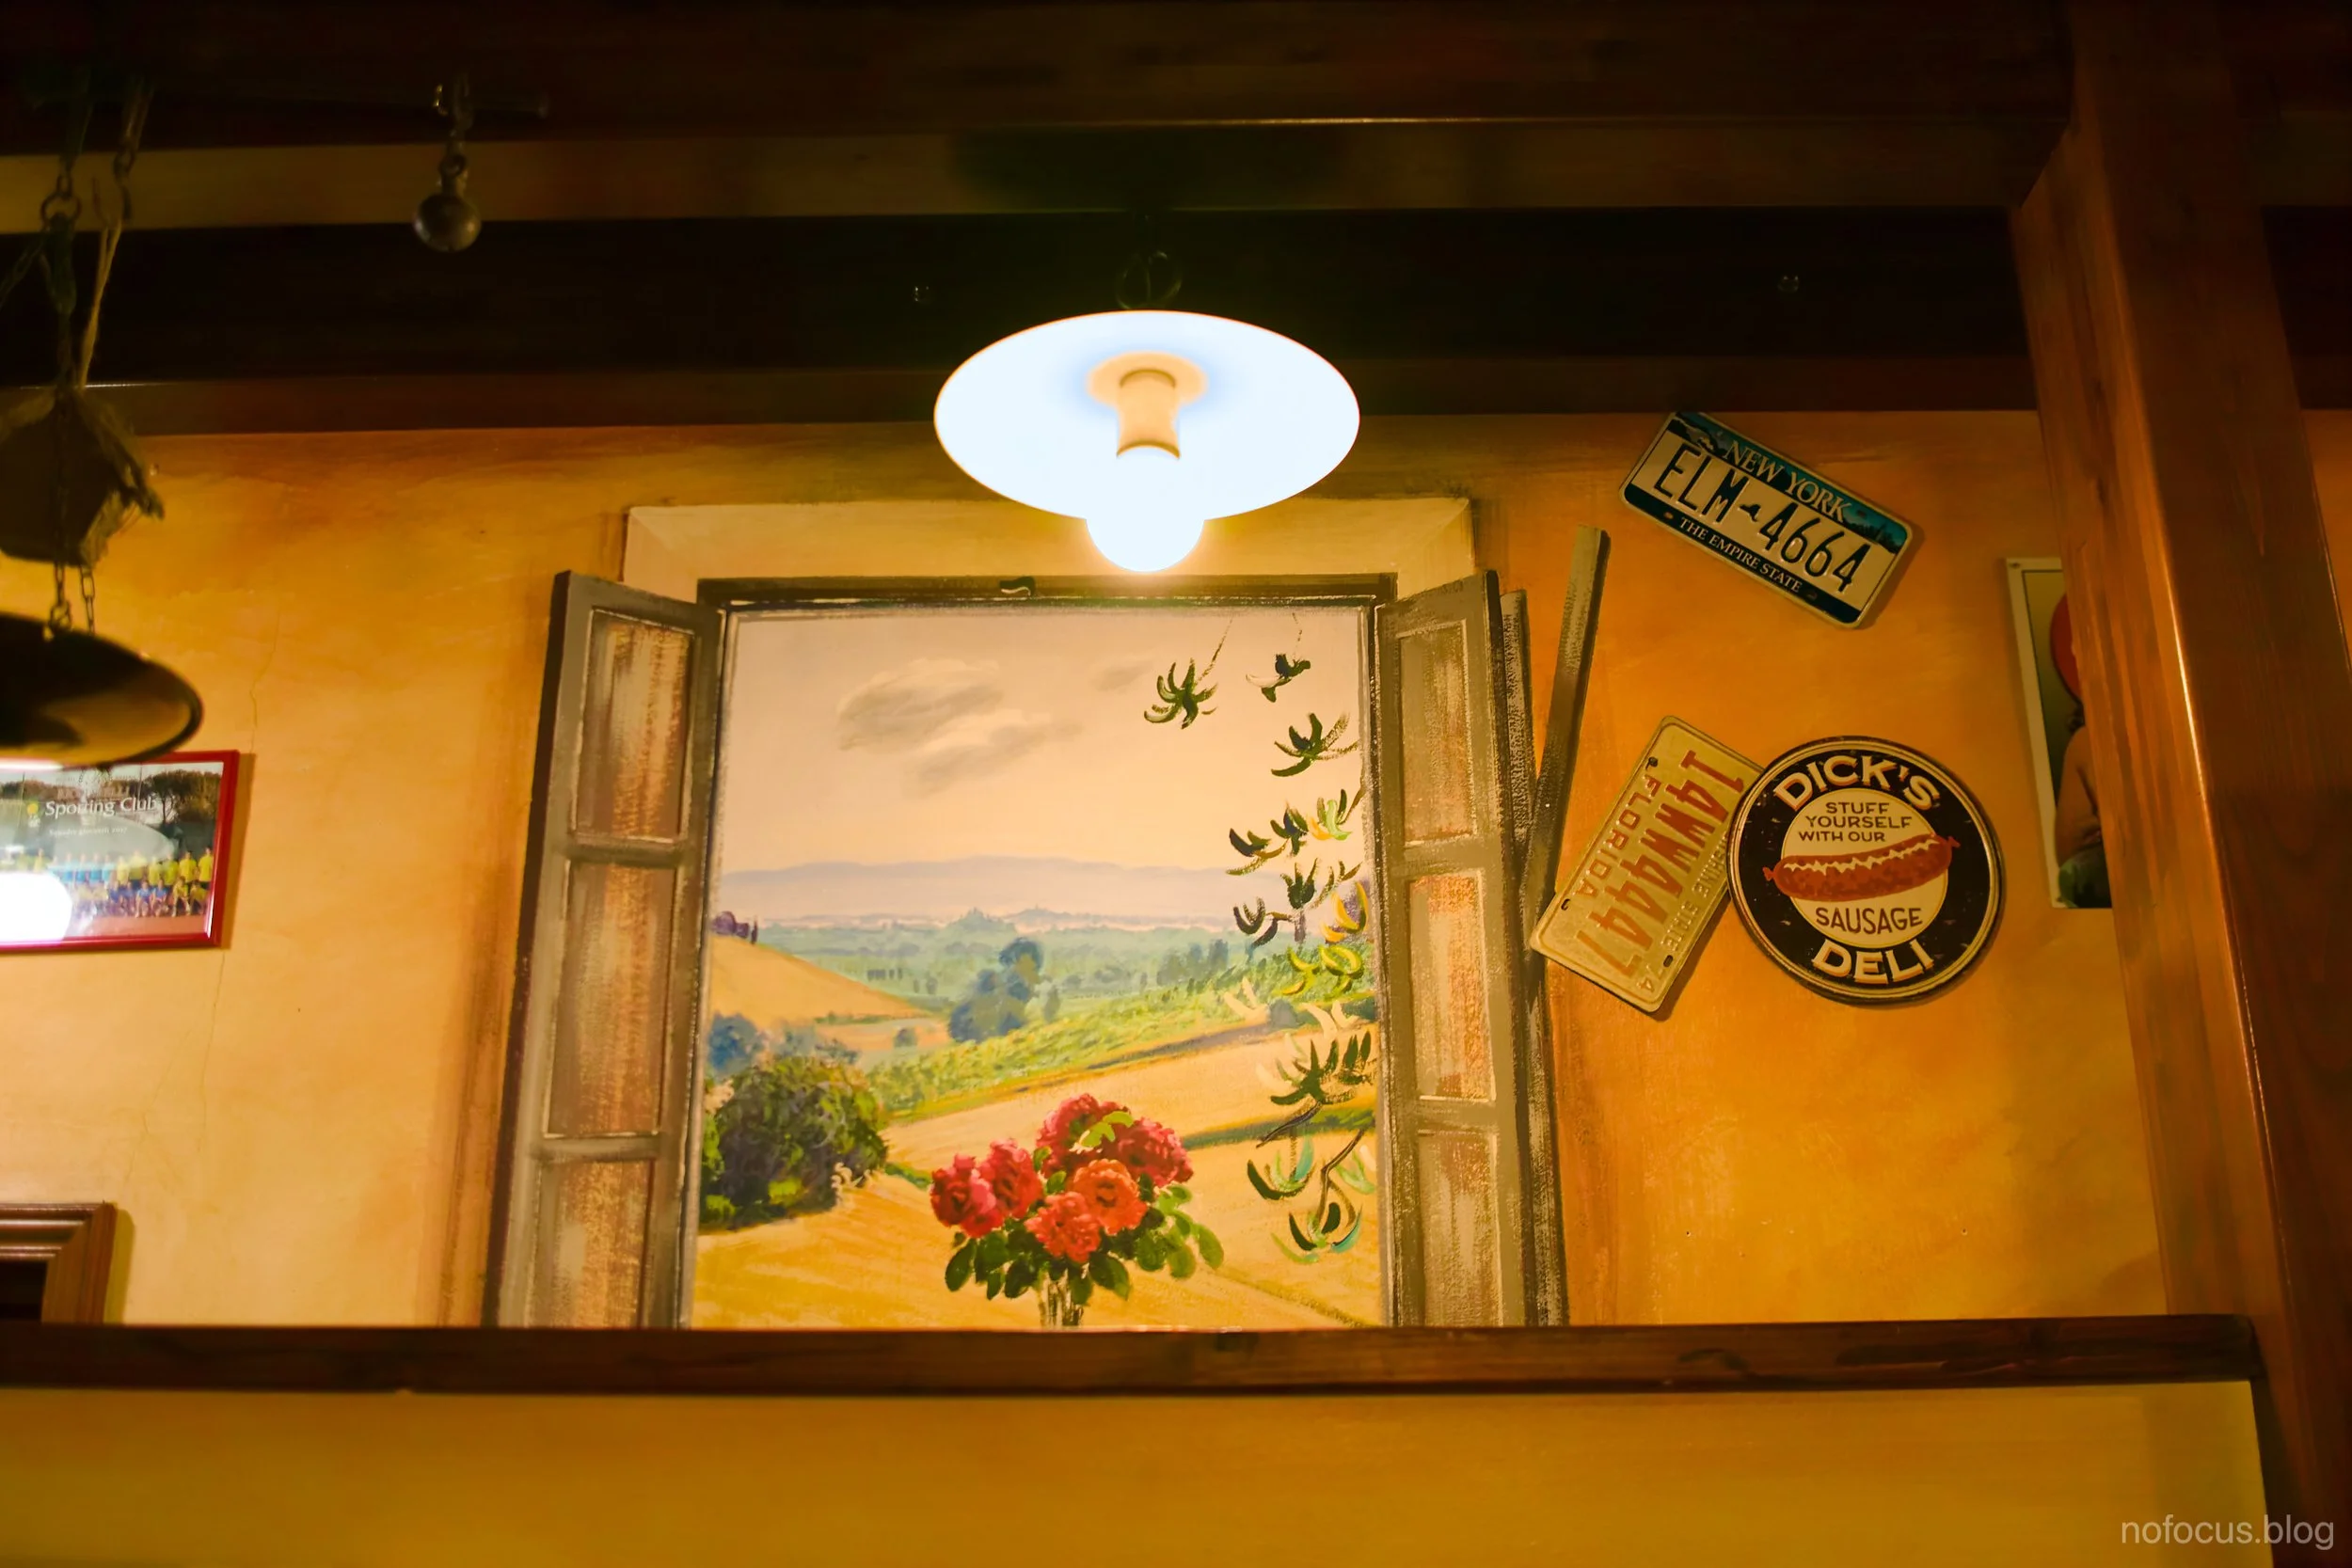
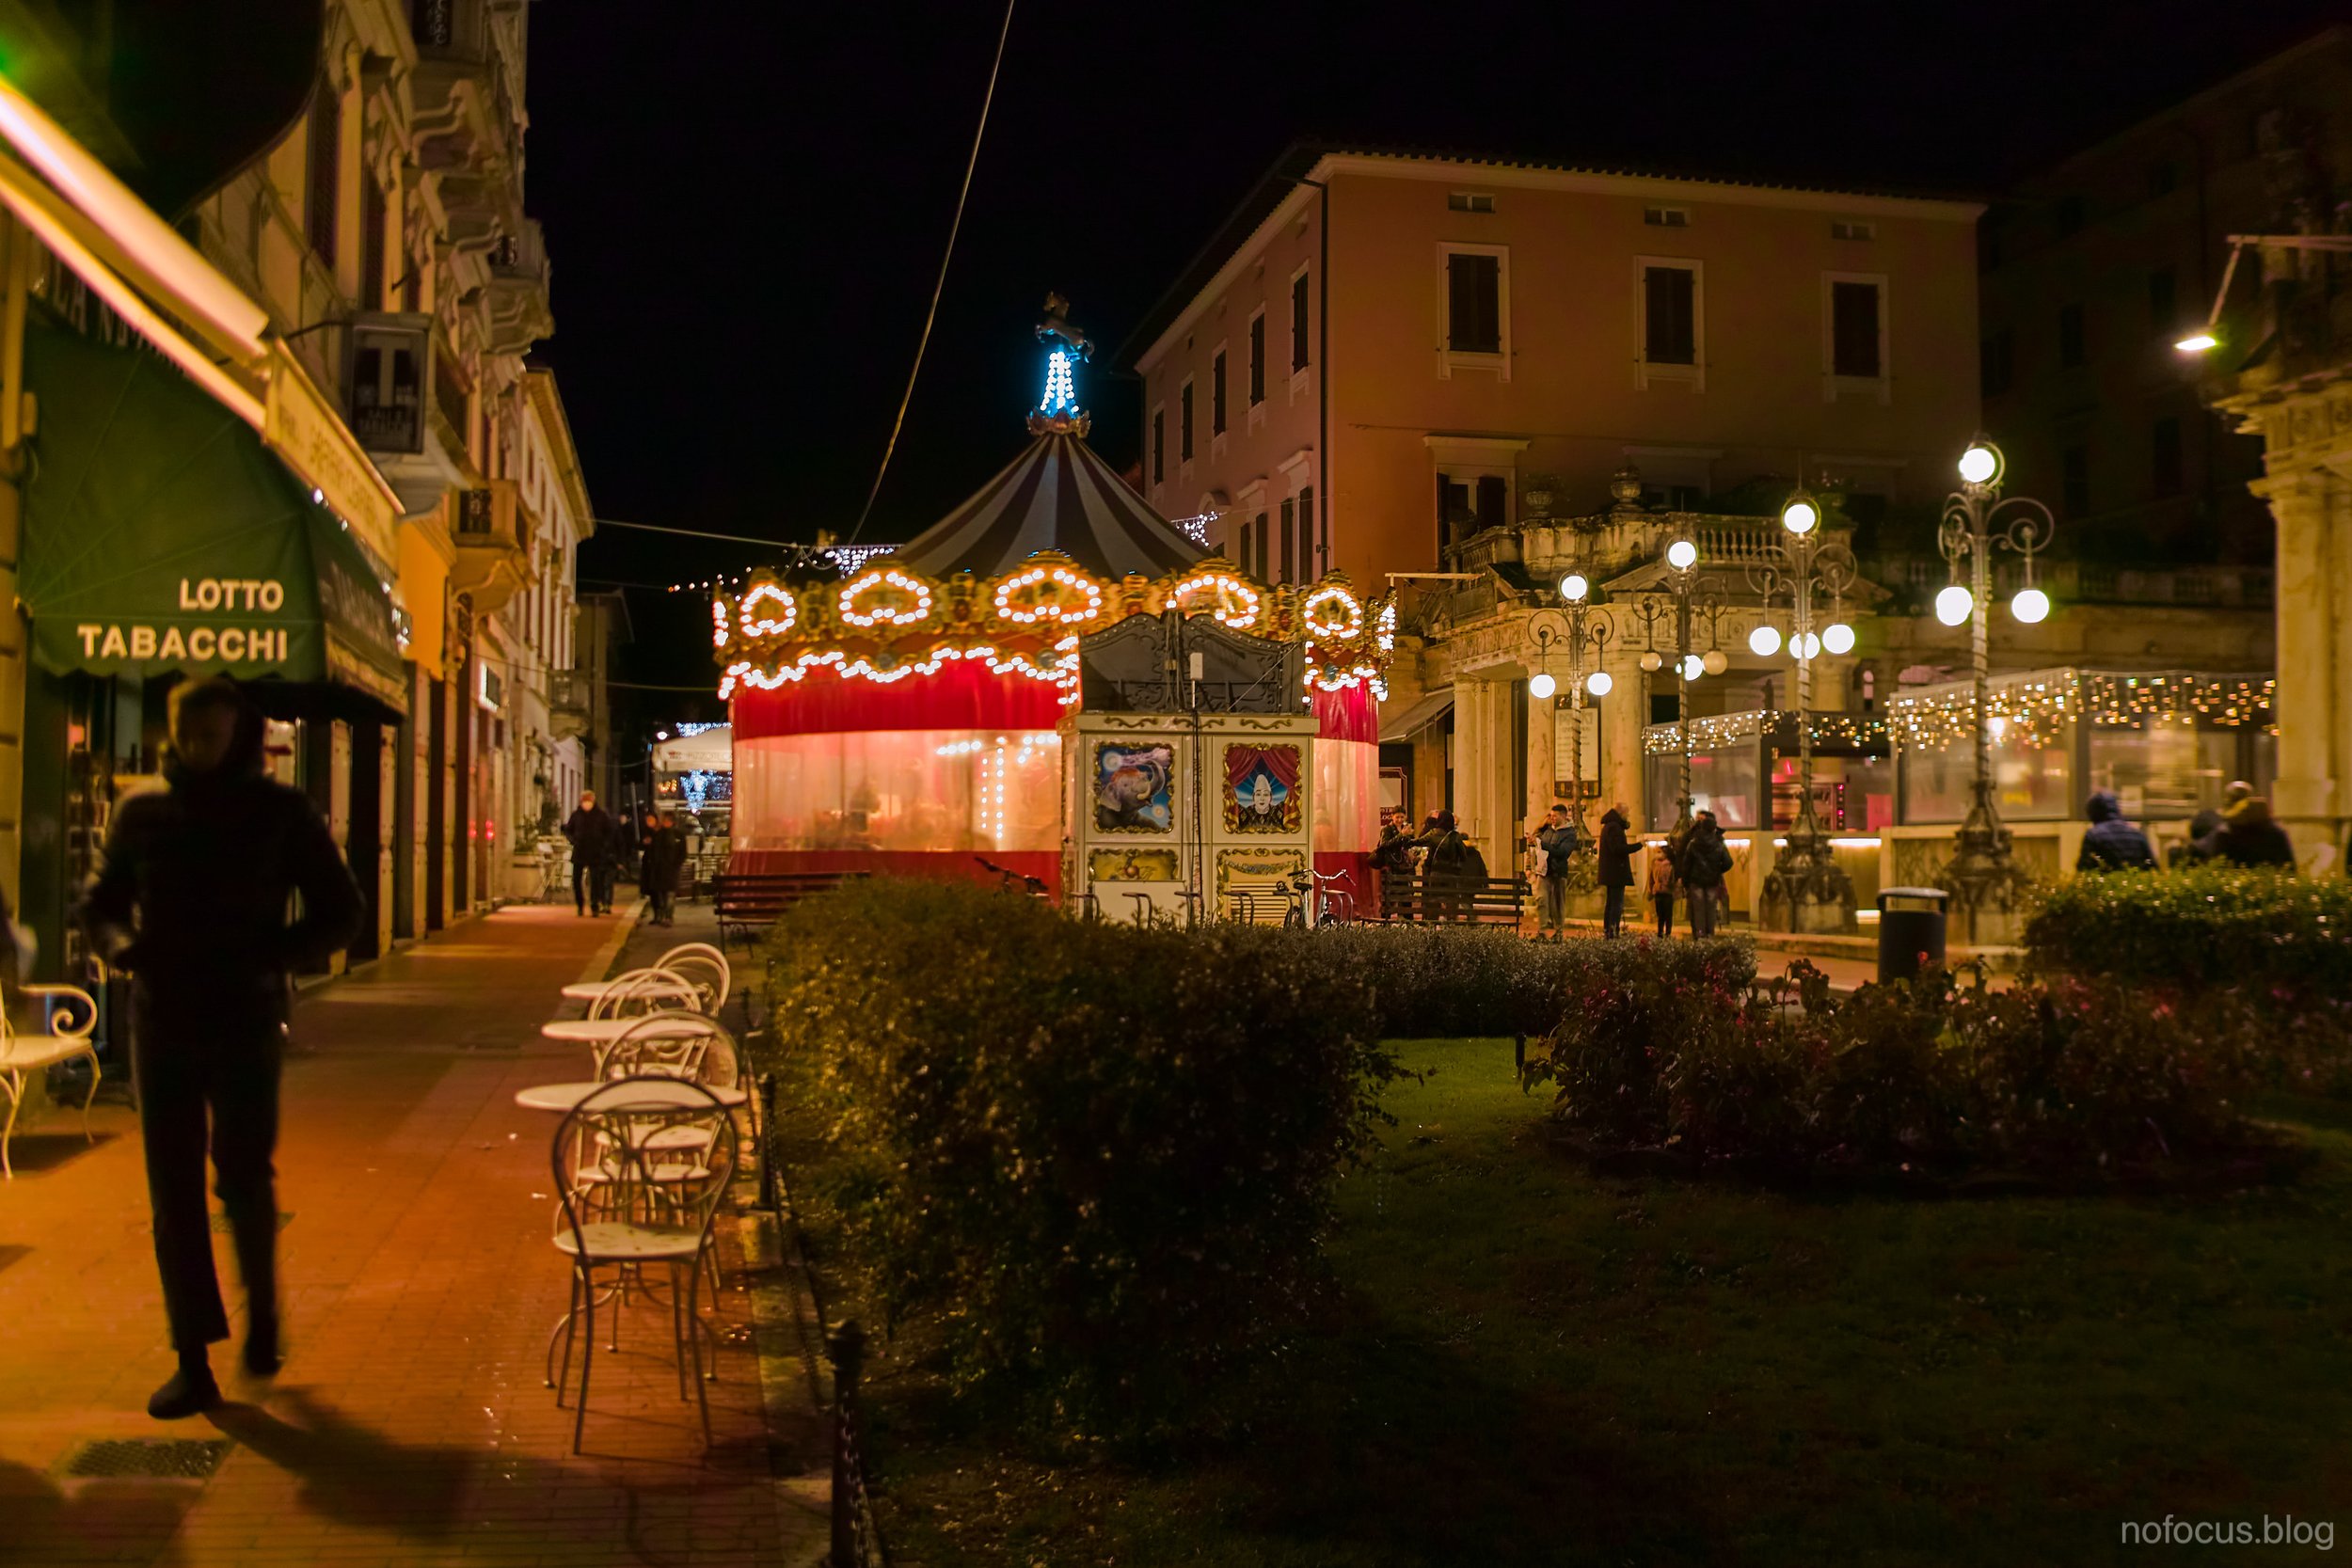
Below some pictures taken with Leica CL and sd Quattro with the Summicron 40mmf2.


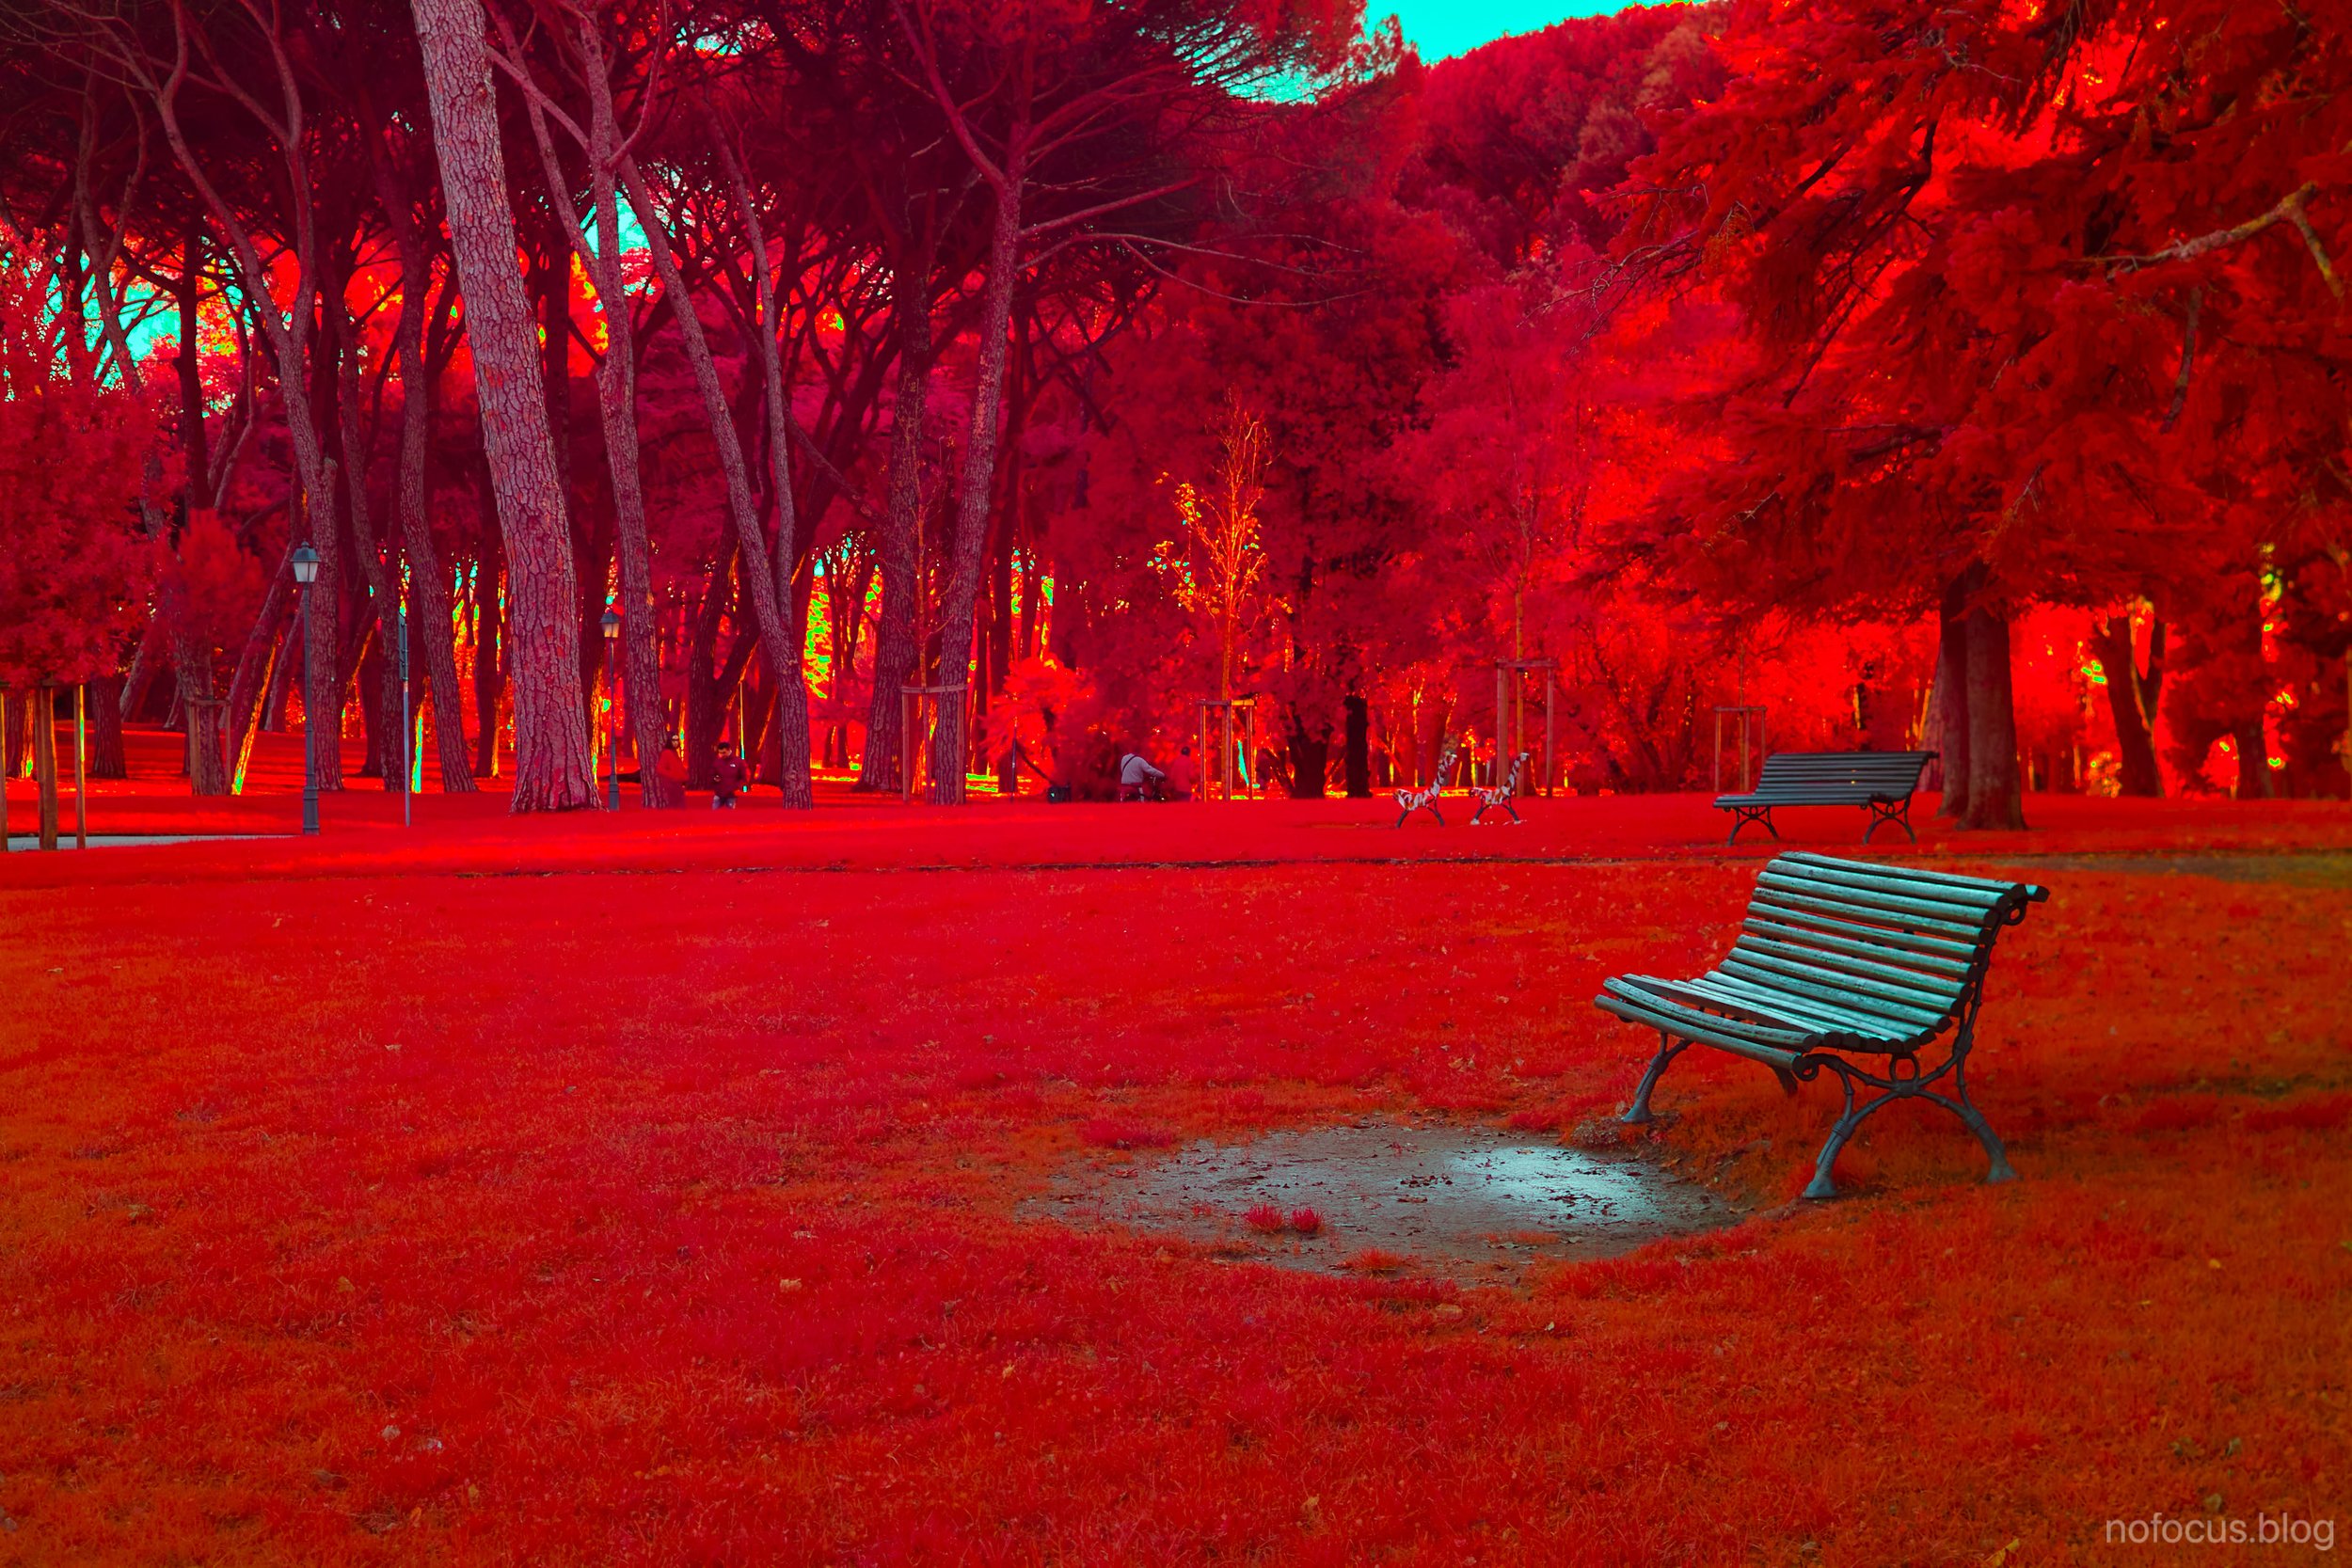
To end, some more tests with different lenses:


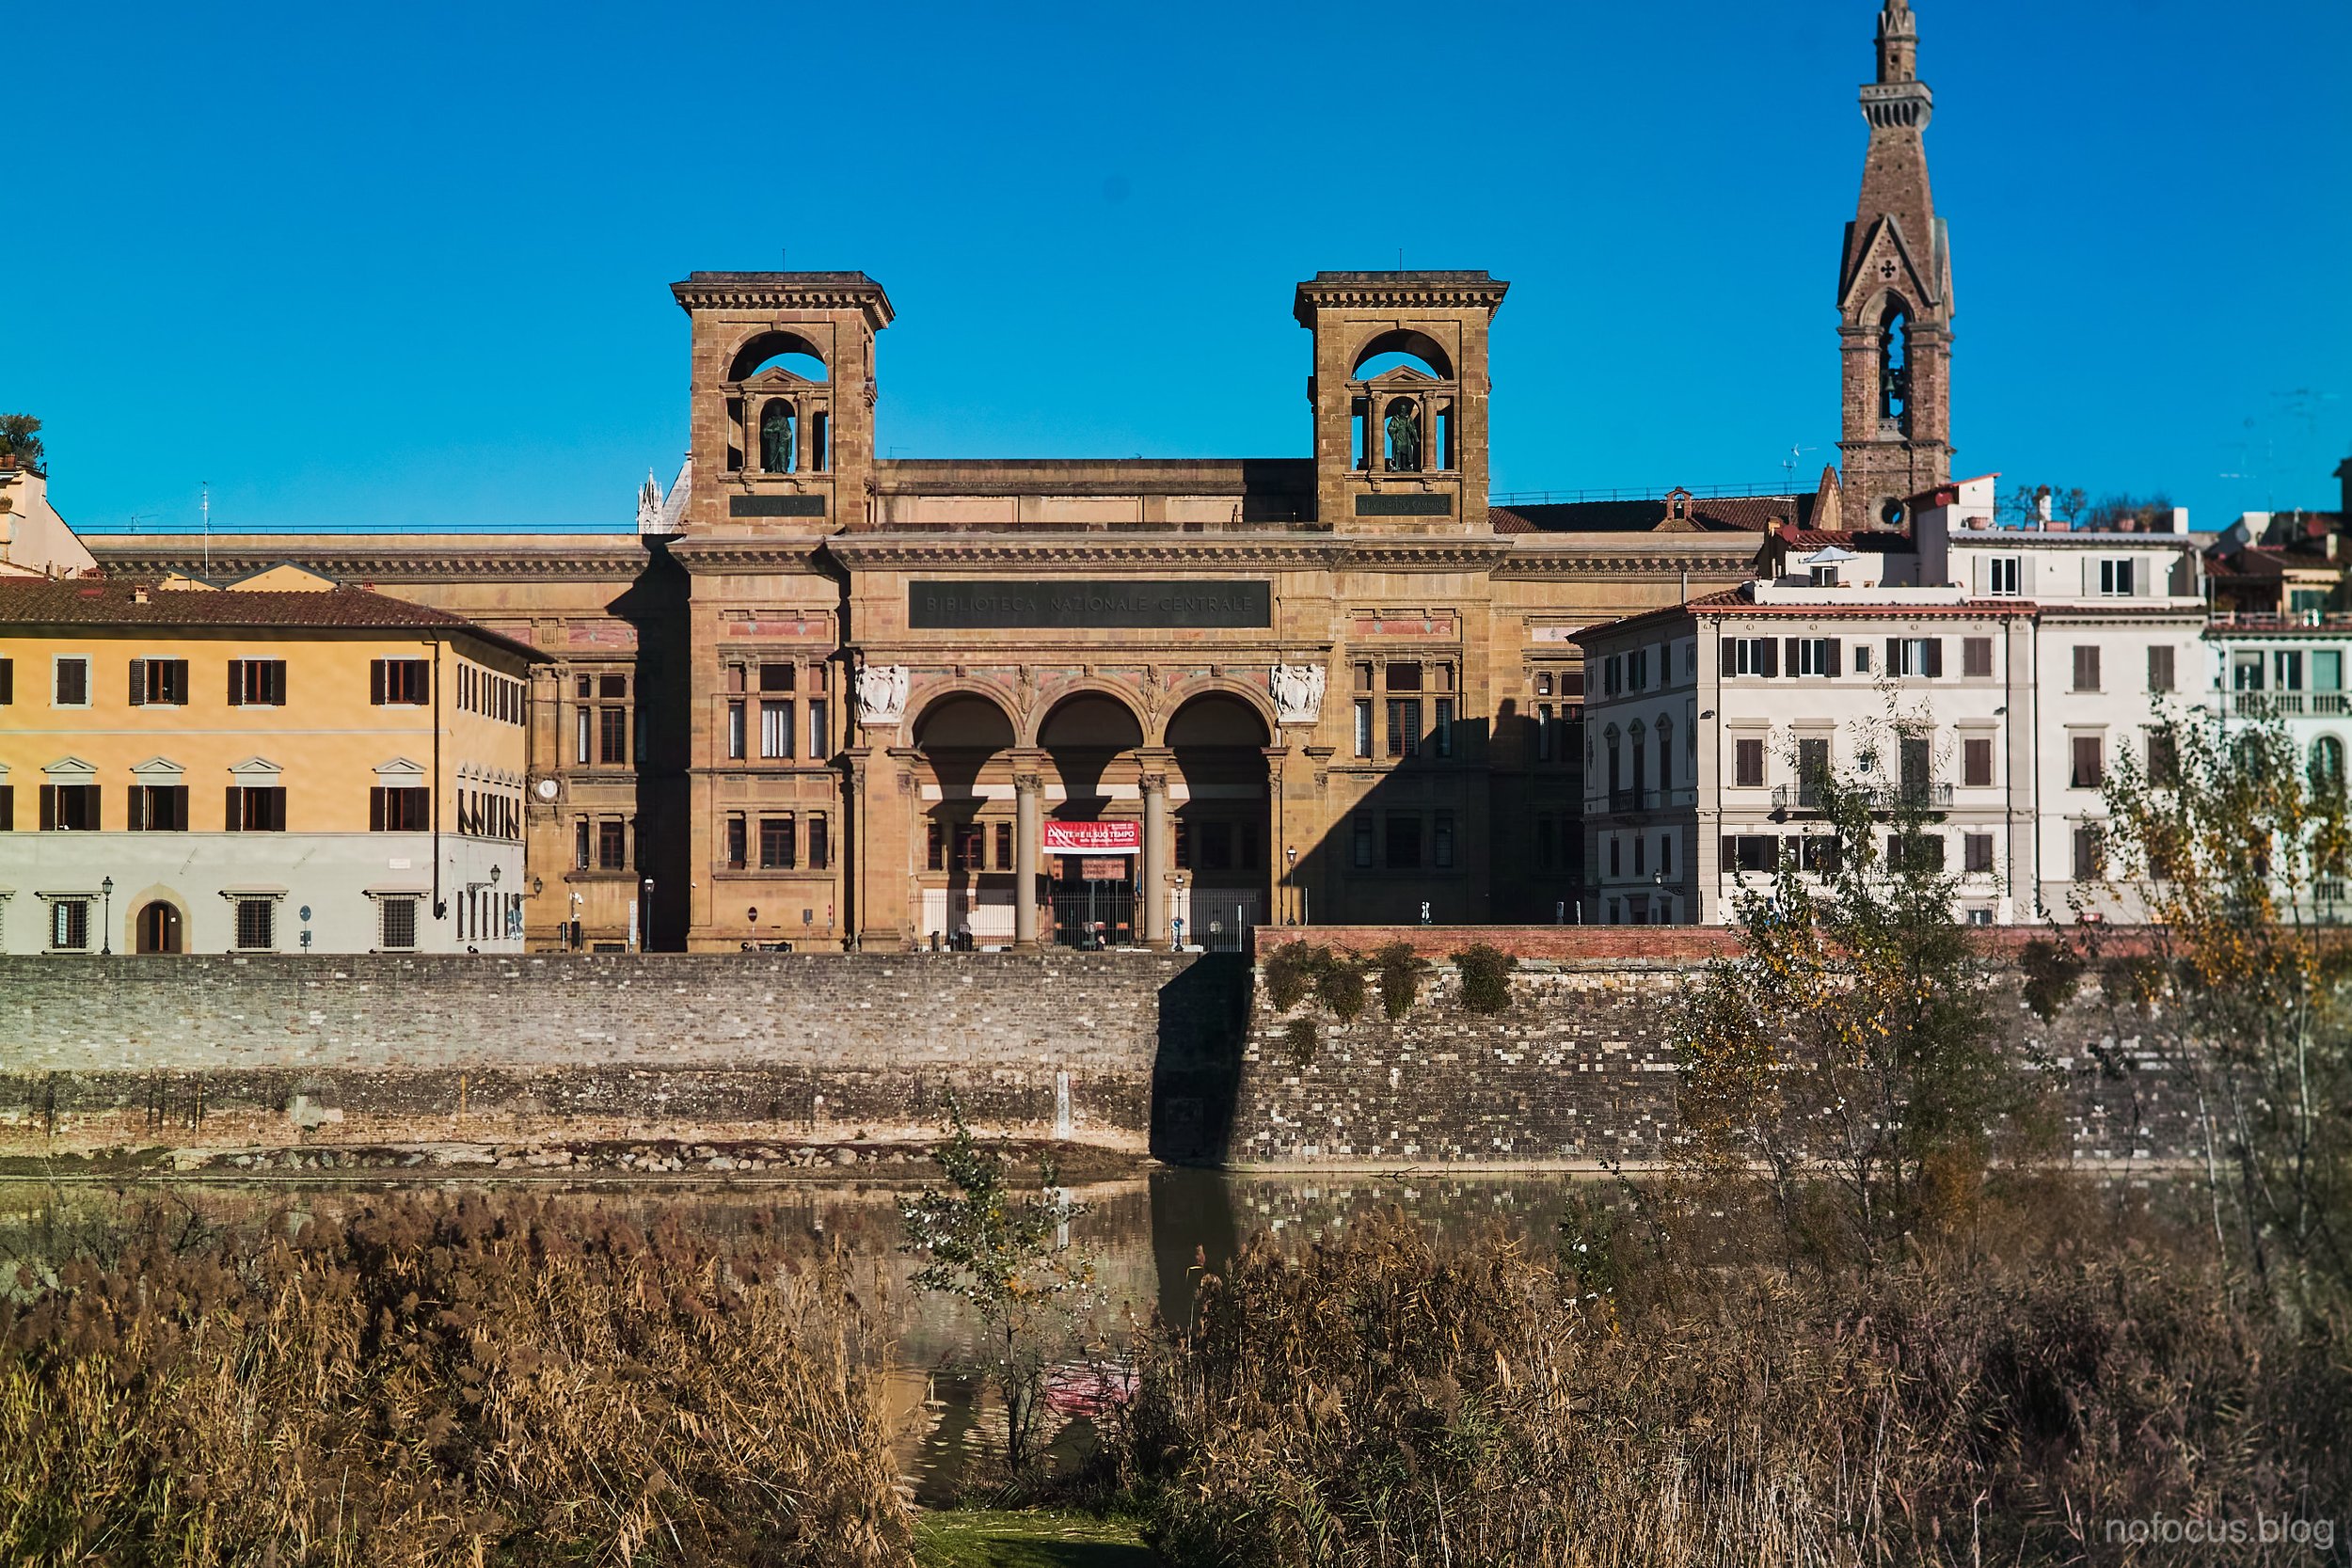


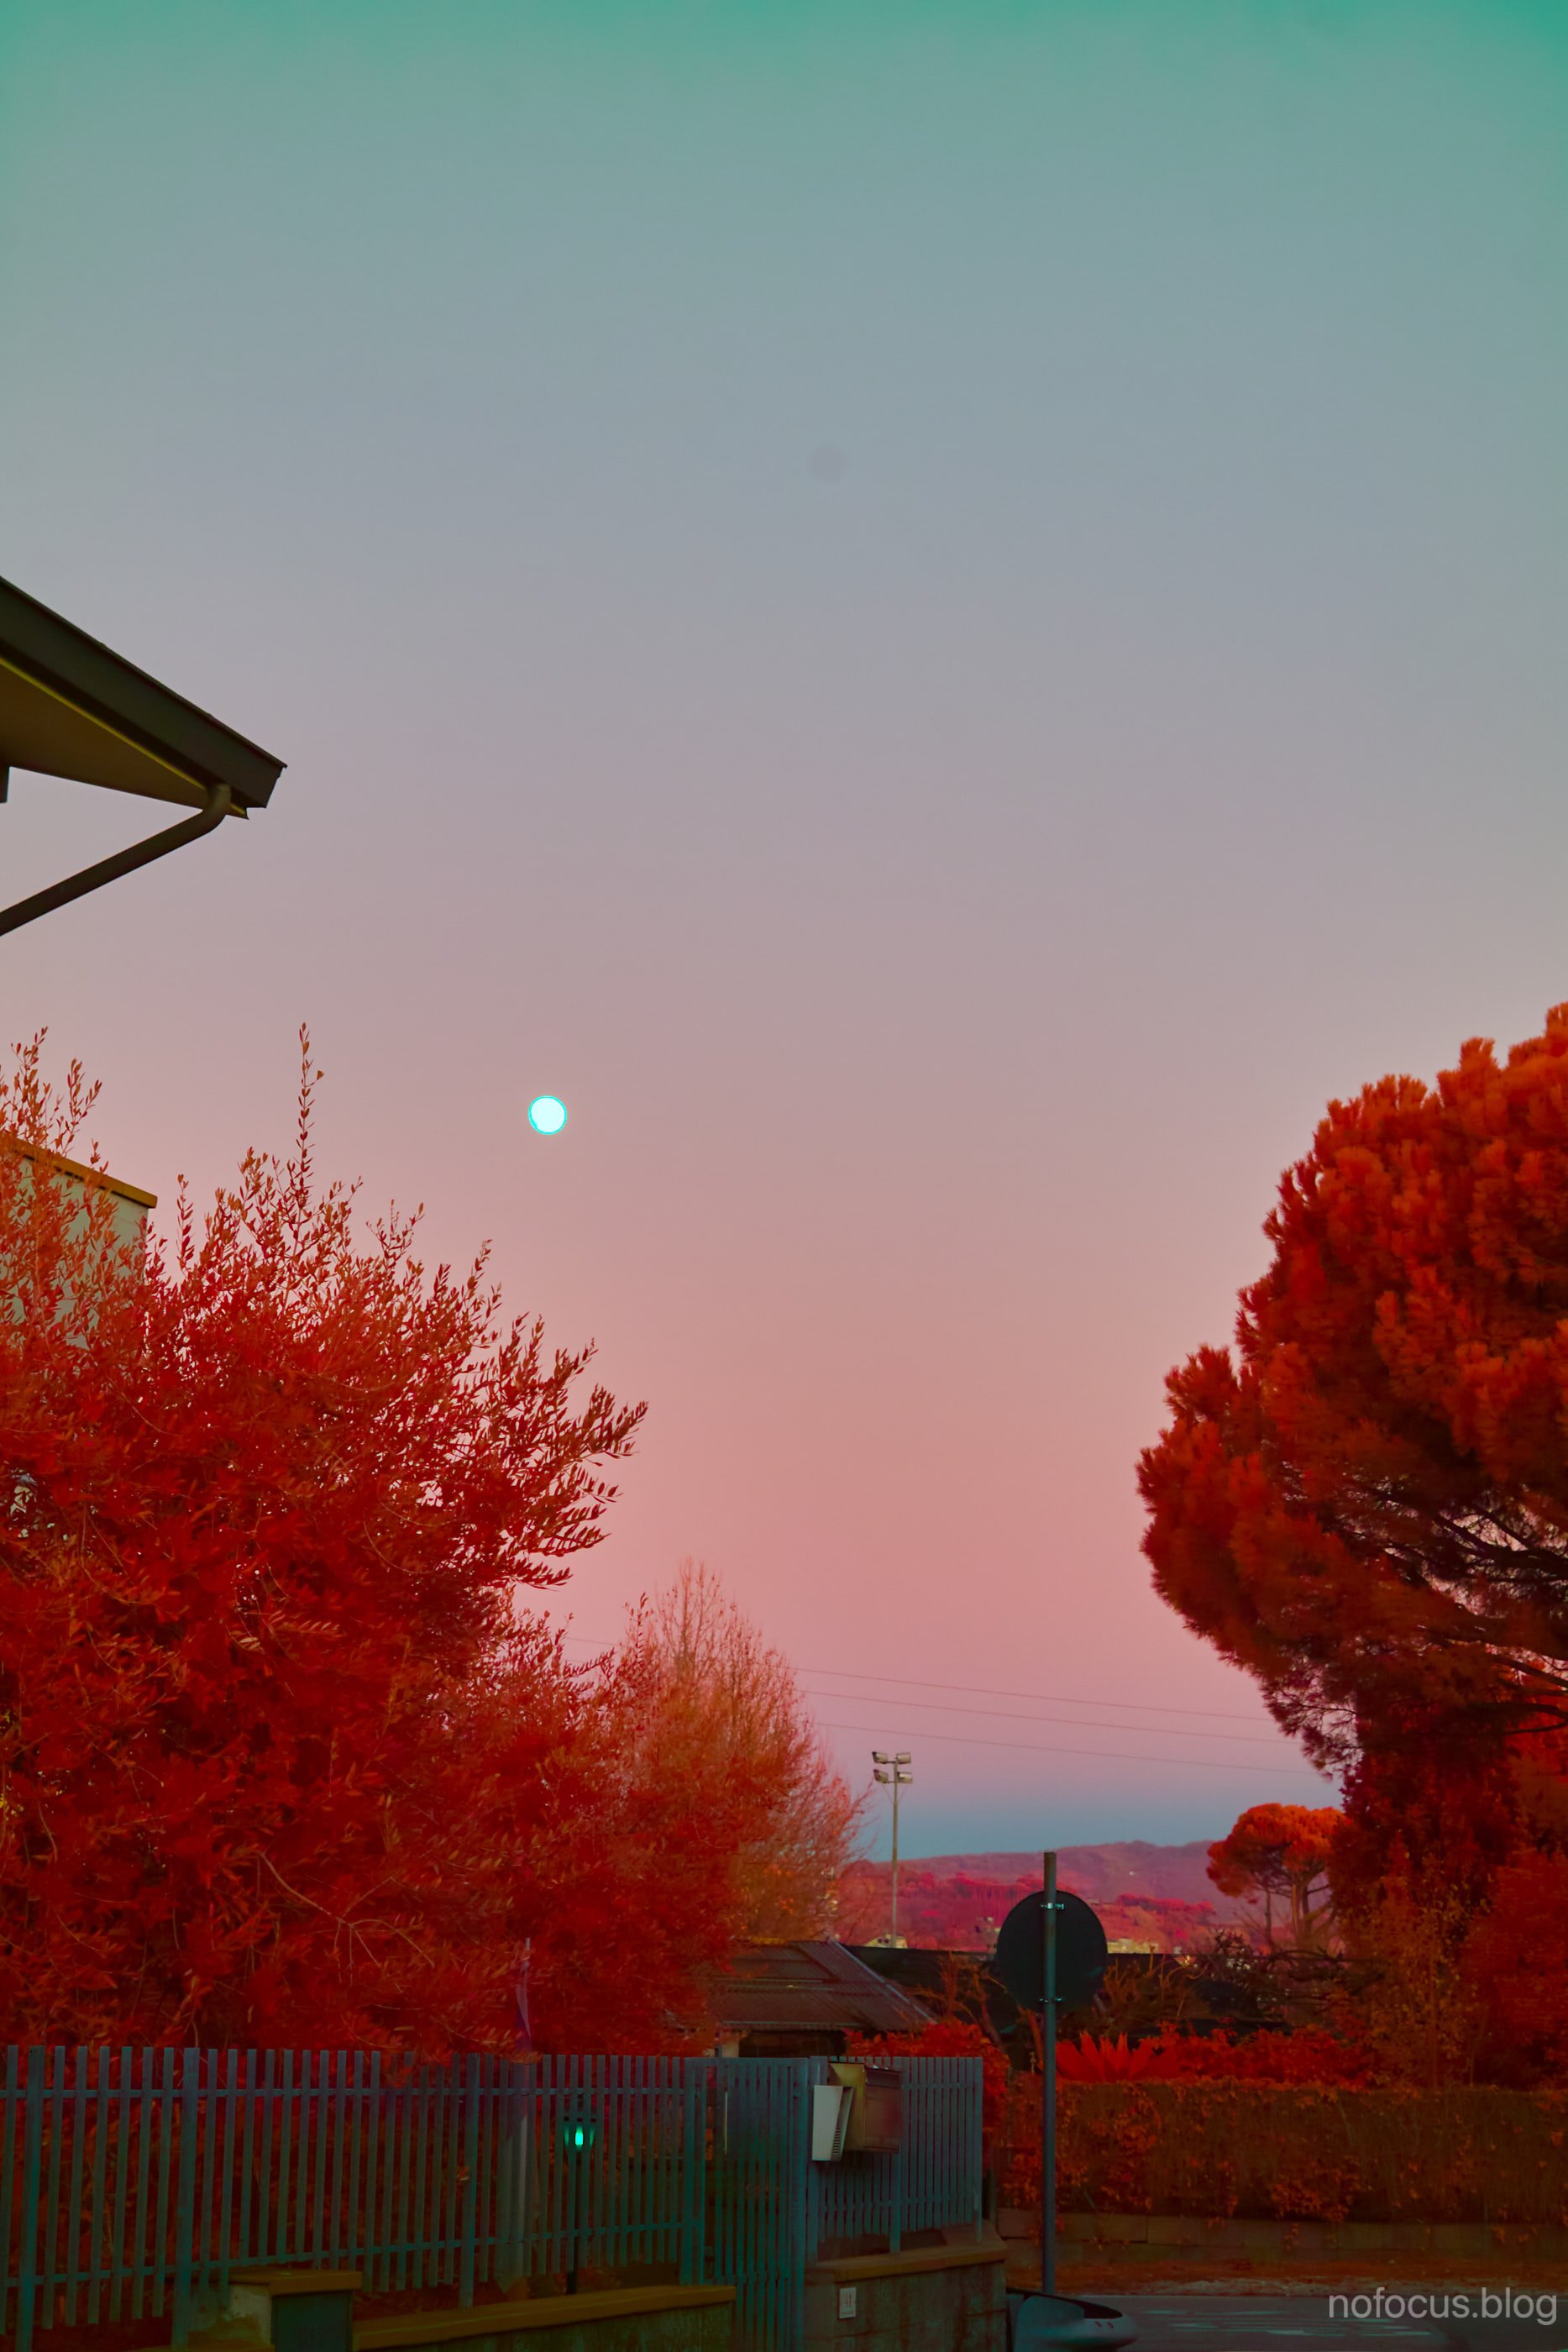
Even with the new Kolari hot mirror filter, colours feel a bit off.
I wish I could do some portraits next time, if time allows it.
Also, because lens and sensor are not aligned perfectly, some photos look a bit more “tilt shift like” than others.
Either way, I hope you enjoyed this article and let me know what you think and question in the comments!
See you,
Tomas.